Repainting your car hood is a straightforward process that involves sanding, priming, painting, and sealing. This guide offers step-by-step instructions to achieve a professional finish.
Repainting the hood of your car can breathe new life into its appearance, enhancing both its look and value. Whether your vehicle has suffered from wear and tear or you're simply looking to refresh its color, a well-executed paint job can make a significant difference.
This task, often perceived as daunting, can be easily tackled with the right tools and a bit of patience. By following a clear, methodical approach, even beginners can achieve results that rival professional work. The key lies in meticulous preparation and attention to detail, ensuring that the final outcome not only looks good but also lasts. Our guide is designed to demystify the process, providing you with a reliable roadmap to revitalize your car's hood.
Introduction To Car Hood Repainting
Revitalize your car's appearance with a fresh coat of paint on the hood. It's a cost-effective solution that makes a big impact. Whether due to fading, scratches, or chips, a hood repaint can restore your car's shine.
The Importance Of A Pristine Car Hood
The hood is the first thing people notice. It's a reflection of how you maintain your car. A sleek, well-maintained hood can enhance your vehicle's value and appeal. It also protects the engine bay from elements.
When To Consider Repainting
- Fading: Sun exposure can cause paint to lose its luster.
- Scratches: Daily use can result in unsightly marks.
- Peeling: Old paint may start to come off in sheets.
- Corrosion: Rust can spread if not addressed promptly.
 Materials And Tools Required
Materials And Tools Required
Repainting your car's hood can give it a fresh, new look. This section covers all the materials and tools you'll need. Follow these steps for a smooth, professional finish.
List Of Essential Supplies
Start with gathering all necessary supplies. Here's what you'll need:
- Sandpaper - For smoothing the hood
- Tack cloth - To clean the surface
- Primer - Prepares the hood for painting
- Paint - The color of your choice
- Clear coat - Protects the paint
- Masking tape - Shields areas from paint
- Drop cloths - Keeps the ground clean
- Paint sprayer - Applies the paint evenly
- Respirator mask - For your safety
- Gloves - Protects your hands
Choosing The Right Paint For Your Car
Selecting the correct paint is crucial. Consider these points:
| Type | Use |
|---|---|
| Acrylic | For a glossy finish |
| Urethane | Long-lasting and durable |
| Enamel | Quick-drying option |
Match the paint with your car's original color. Use the vehicle's identification number (VIN) to find the exact match.
Preparing Your Workspace
Starting a car hood repainting project requires a well-organized space. A clean, safe area ensures a smooth workflow and top-notch results. Follow these steps to set up your workspace properly.
Setting Up A Clean Area
First, find a spacious spot for your task. Clear out any clutter. Your area should be dust-free. Lay down drop cloths to catch spills. Make sure the room is well-ventilated. Good airflow is crucial for drying and health.
- Choose a spacious location
- Remove all clutter
- Cover the floor with drop cloths
- Ensure proper ventilation
Safety Precautions Before You Begin
Personal safety comes first. Always wear protective gear. This includes gloves, goggles, and a mask. Read all paint and solvent labels. This helps you understand risks. Keep a first aid kit nearby. Safety data sheets should be at hand too.
- Wear gloves, goggles, and a mask
- Read labels on all products
- Keep a first aid kit close
- Have safety data sheets ready
Prepping The Hood
Before painting a car hood, the right prep work ensures a flawless finish. This guide covers all the steps for a perfect job.
Cleaning The Surface
A clean hood is critical for paint to adhere. Start with a degreaser to remove grime. Rinse thoroughly after. Dry the hood with a microfiber cloth for a spotless base.
- Wipe down the entire hood.
- Use automotive soap for tougher spots.
- Ensure the hood is completely dry before moving on.
Sanding Techniques For Smoothness
Proper sanding creates a smooth surface for paint. Begin with coarse sandpaper. Gradually move to finer grades for a sleek finish.
- Start with 400-grit sandpaper.
- Switch to 600-grit for refinement.
- Finish with 800-grit for ultra-smoothness.
| Step | Sandpaper Grit | Result |
|---|---|---|
| 1 | 400-grit | Removes old paint |
| 2 | 600-grit | Smoothens surface |
| 3 | 800-grit | Prepares for paint |
 Priming The Surface
Priming The Surface
Before painting your car hood, priming is key. Priming the surface prepares it for painting. It ensures the paint sticks well and lasts long. Let's dive into how to apply primer evenly and understand drying times and tips.
Applying Primer Evenly
- Start with a clean, dry surface. Remove all dirt and rust.
- Use sandpaper to make the surface smooth.
- Shake the primer can well before use.
- Hold the can about 6-8 inches away from the hood.
- Spray in a steady, back-and-forth motion.
- Apply thin coats rather than one thick coat.
- Let each coat dry before applying the next.
Drying Times And Tips
| Type of Primer | Drying Time | Additional Tips |
|---|---|---|
| Aerosol | 20 minutes | Work in a well-ventilated area. |
| Liquid | 1 hour | Use a clean brush for application. |
After applying primer, wait for it to dry completely. This can take up to 24 hours. Check the product label for specific drying times. Patience is key to a smooth, long-lasting finish.
Painting Process
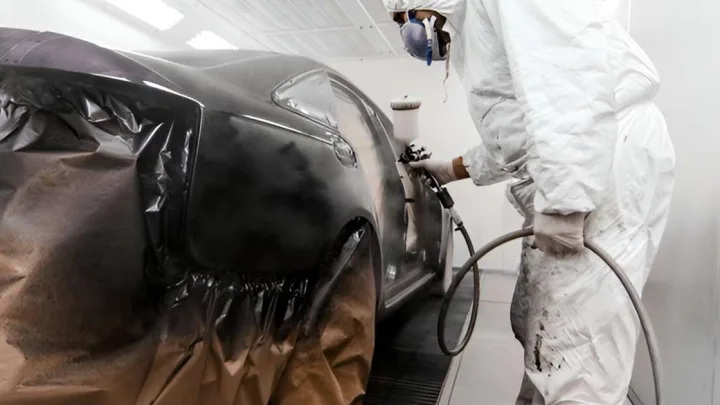
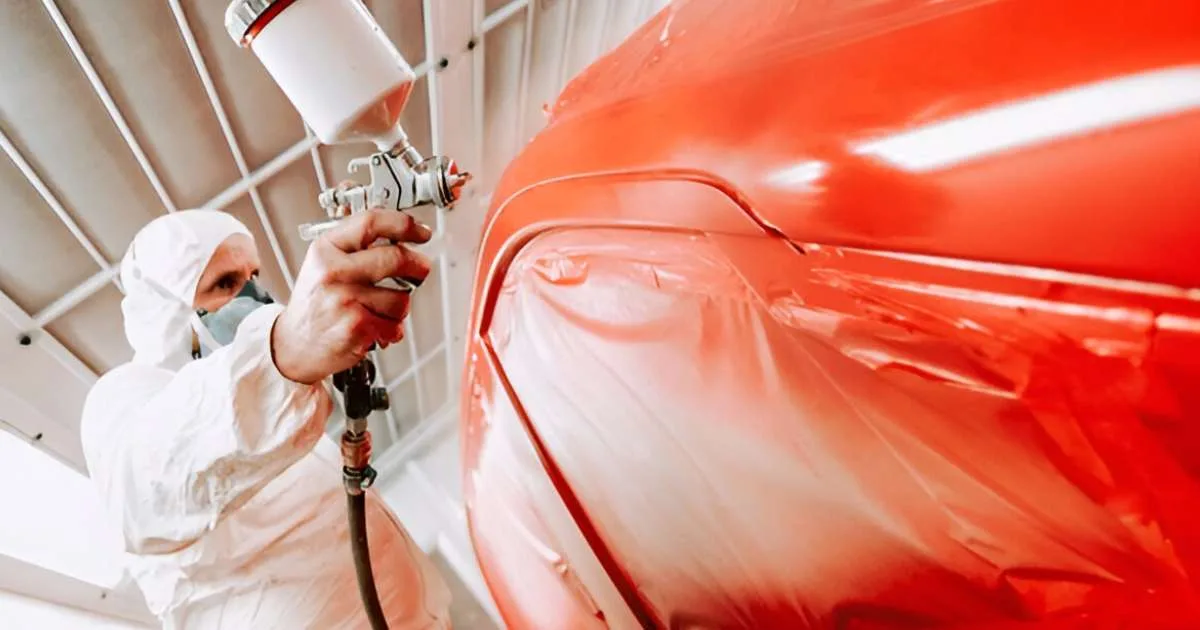
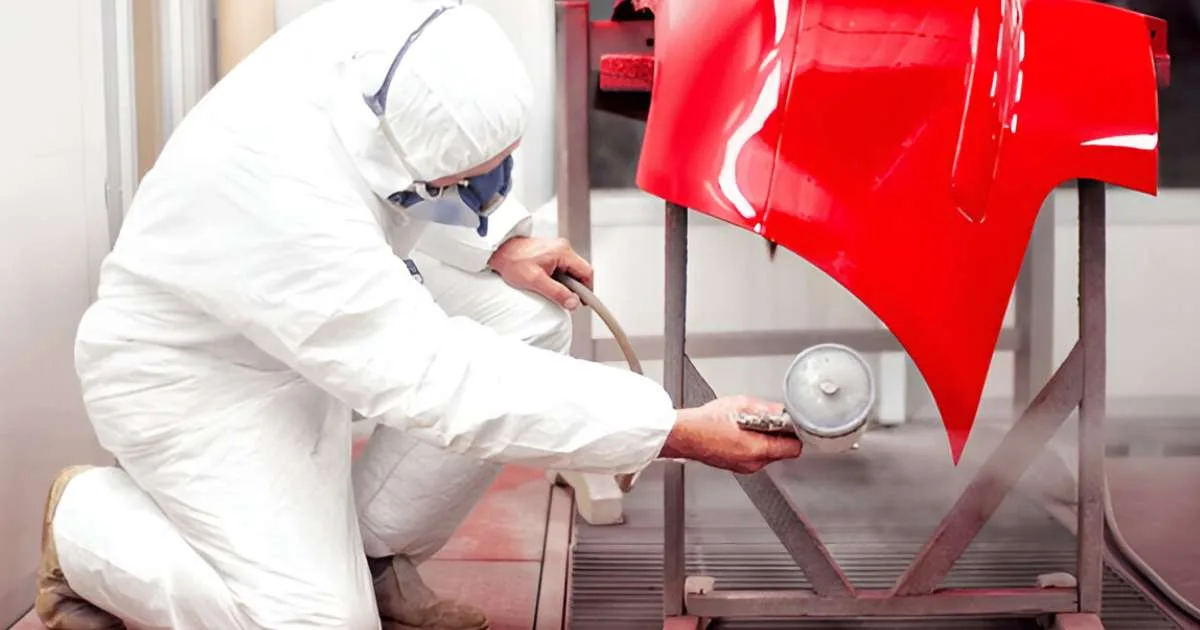
The painting process is a critical phase in car hood repainting. Proper techniques ensure a smooth, professional finish. The process involves precise steps, from layering the paint to achieving an even coat. Follow these guidelines for best results.
Layering The Paint
Begin by mixing the paint with a hardener and thinner. Use a paint sprayer for application. Start with a thin base coat. Allow it to dry. Apply subsequent layers. Aim for three to four coats for durability. Let each layer dry before adding the next. This creates a strong, long-lasting finish.
Achieving An Even Coat
For an even coat, maintain a consistent spray pattern. Hold the sprayer at a fixed distance from the hood. Move in smooth, horizontal motions. Overlap each pass by about 50%. This technique avoids streaks and ensures full coverage. Check the surface after each coat. Touch up any light areas. Allow the final coat to cure as per product instructions. This achieves a flawless, glossy appearance.
Finishing Touches
Applying the finishing touches to your car's hood is crucial. It protects the paint and adds shine. Let's ensure your hard work lasts and looks great.
Clear Coating For Protection
Clear coat seals the paint. It shields against UV rays and weather damage. Apply it in even layers.
- Mix the clear coat as directed.
- Use a clean spray gun.
- Spray in smooth motions.
- Allow it to dry between coats.
- Apply 2-3 coats for best results.
Buffing For A Shiny Finish
Buffing makes your hood shine. It removes imperfections for a mirror-like finish. Follow these steps for best results:
- Wait for the clear coat to cure.
- Use fine-grit sandpaper to wet sand.
- Clean the hood with a microfiber cloth.
- Apply a buffing compound.
- Use a buffer at a low speed.
- Increase speed gradually.
- Finish with a polishing compound.
 Aftercare And Maintenance
Aftercare And Maintenance
Proper aftercare ensures your car hood's fresh paint lasts for years. Let's dive into the best practices for maintaining that new-car shine.
Caring For Your Newly Painted Hood
For the initial weeks, treat your car's hood with extra care. Follow these tips:
- Keep it clean: Wash by hand using gentle soap.
- Avoid harsh chemicals: Steer clear of strong cleaners.
- Shield from elements: Park in the shade or use a car cover.
- Wait on waxing: Delay any wax applications for at least a month.
Long-term Maintenance Advice
With the right approach, the paint remains vibrant. Here's how:
- Regular washes: Keep dirt off with frequent cleaning.
- Wax periodically: Apply wax every three months for protection.
- Inspect often: Look for chips or scratches regularly.
- Immediate action: Fix paint damage quickly to avoid rust.
Stick to these steps for a hood that stays looking new.
Common Mistakes To Avoid
Refreshing your car's hood with a new coat of paint can transform its appearance. Yet, simple errors can mar the finish. Awareness and prevention ensure a sleek, professional look. Let's explore common pitfalls in car hood repainting and how to evade them.
Avoiding Drips And Streaks
Drips and streaks can ruin a smooth finish. These often result from improper technique or paint consistency. To prevent them:
- Use thin coats: Thick paint layers lead to drips.
- Keep the spray gun moving: A stationary gun causes buildup.
- Maintain distance: Hold the gun 6-8 inches from the surface.
- Test first: Practice spraying on cardboard.
Troubleshooting Common Issues
Sometimes, despite best efforts, issues arise. Here's how to tackle them:
| Problem | Solution |
|---|---|
| Paint bubbling | Allow each coat to dry fully before the next. |
| Uneven texture | Sand the area lightly and apply another coat. |
| Orange peel | Adjust the gun for a finer spray, and mix paint properly. |
Diy Vs. Professional Repainting
Choosing between DIY and professional car hood repainting is vital. Your decision impacts cost, time, and quality. This section explores the benefits and drawbacks of both options.
Evaluating The Pros And Cons
DIY car hood repainting offers personal satisfaction and potential savings. However, it requires skill, patience, and the right tools. On the flip side, professionals guarantee quality with a price tag.
| DIY Repainting | Professional Repainting |
|---|---|
| Cost-effective | Higher cost |
| Time-consuming | Quick turnaround |
| Learning curve | Expertise available |
| Potential for error | Quality assurance |
When To Seek Professional Help
Complex paint jobs demand professional skills. If your car requires extensive surface preparation or you desire a flawless finish, seeking a pro is wise. They have the tools and expertise needed.
- Matched paint color: Pros ensure a perfect match.
- Advanced techniques: Pros use them for durability.
- Equipment: Pros have high-grade tools.
- Warranty: Pros often offer service guarantees.
Enhancing Car Value With A Fresh Paint Job
Enhancing Car Value with a Fresh Paint Job breathes new life into your vehicle. A well-done paint job not only makes your car look brand new but also significantly boosts its market value. Let's dive into how a fresh coat of paint can be a game-changer for your car.
Impact On Resale Value
A shiny, well-maintained car always catches the eye of potential buyers. A fresh paint job can increase your car's resale value by a great margin. It shows that the car is well cared for, making it more attractive to buyers.
Visual Appeal And Car Longevity
Next, let's talk about visual appeal and car longevity. A new paint job not only makes your car look stunning but also protects it. It acts as a shield against rust and damage from the sun.
- Better Protection: New paint protects the car's body.
- Looks New: Your car looks fresh off the lot.
- Longer Life: Paint can help your car last longer.
Following these steps ensures your car remains vibrant, valuable, and visually appealing. It's a smart move for any car owner looking to maintain or increase their vehicle's worth.
Frequently Asked Questions
How Much Does Car Hood Repainting Cost?
The cost of car hood repainting varies widely, typically ranging from $250 to $500. Factors like paint quality, car model, and regional labor rates impact the price. For exact costs, consult local auto body shops for estimates.
Can I Repaint My Car Hood Myself?
Yes, you can repaint your car hood yourself with the right tools and instructions. It requires sanding the hood, applying primer, paint, and clear coat. However, DIY results may differ from professional work.
What Type Of Paint Is Best For Car Hoods?
For car hoods, automotive spray paint is ideal. It ensures a smooth, durable finish. Choose a paint compatible with your car's make and model for the best match and longevity.
How Long Does Hood Repainting Take?
Professional hood repainting can take 2-3 days, including drying time. DIY repainting might take longer, depending on your experience and the drying conditions.
Conclusion
Embarking on a car hood repainting project can seem daunting at first. Yet, with the right tools and our straightforward guide, you'll achieve a professional look in no time. Remember to take your time for each step, ensuring a flawless finish.
Your vehicle deserves a fresh, vibrant facade, and now you're equipped to deliver just that. Drive boldly with your newly painted hood!
Disclosure
Some links may be affiliate links. That means we may earn a small commission at no extra cost to you.