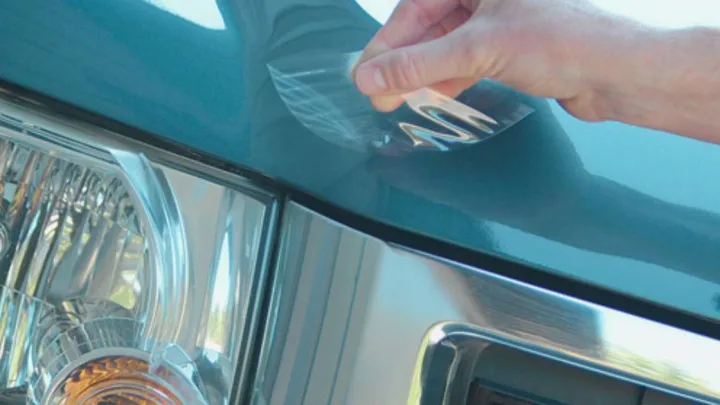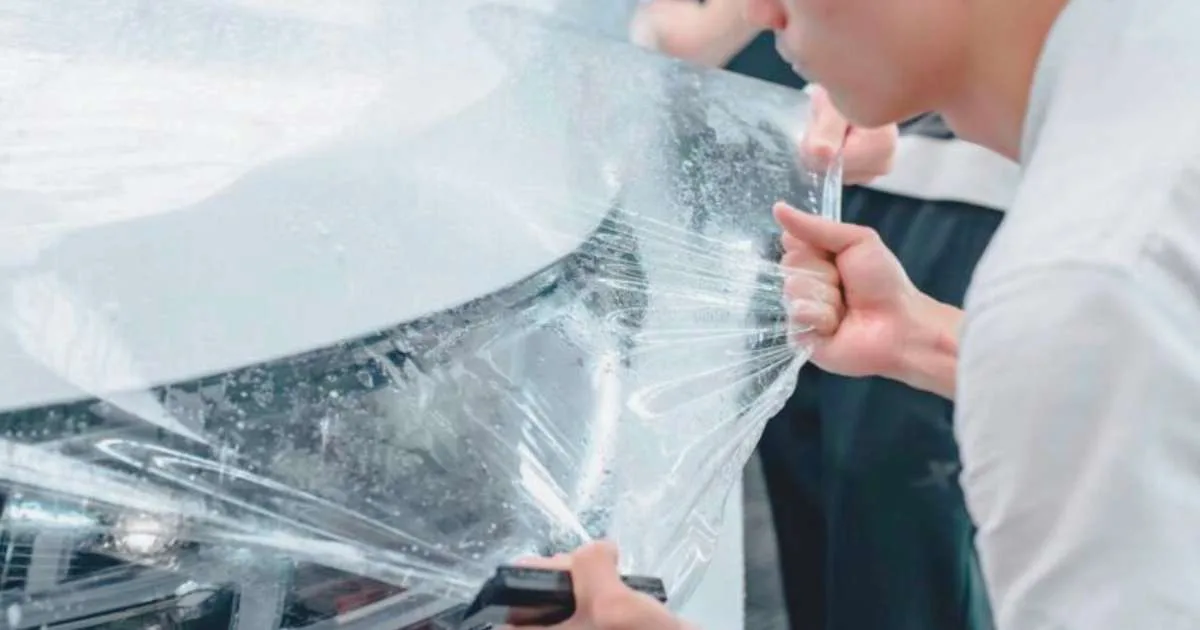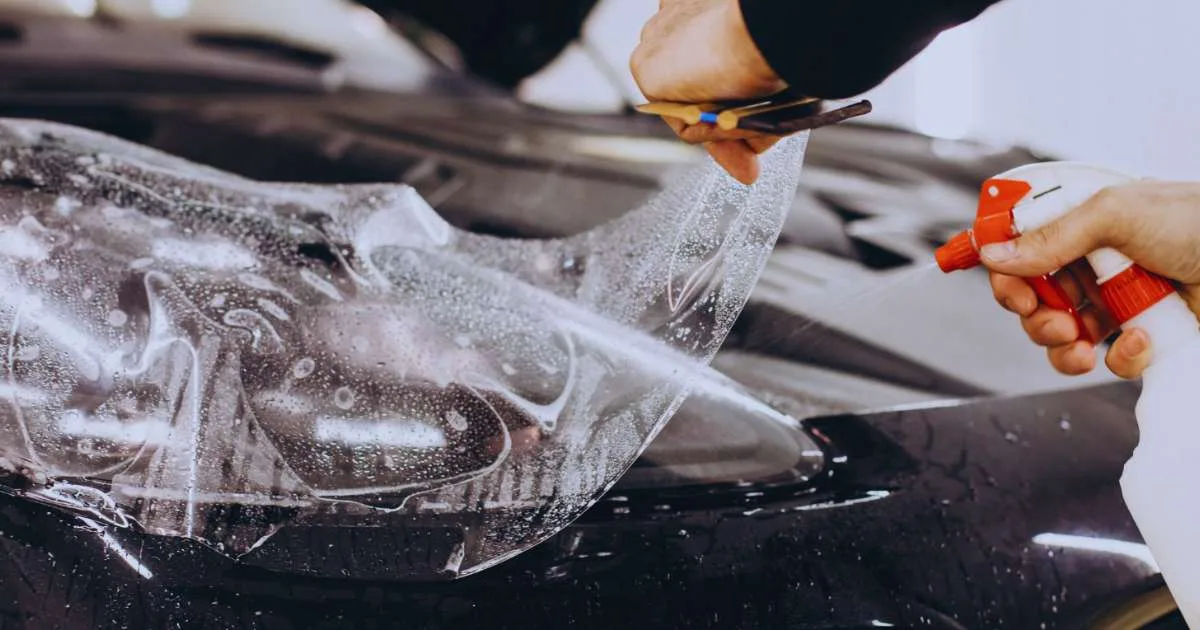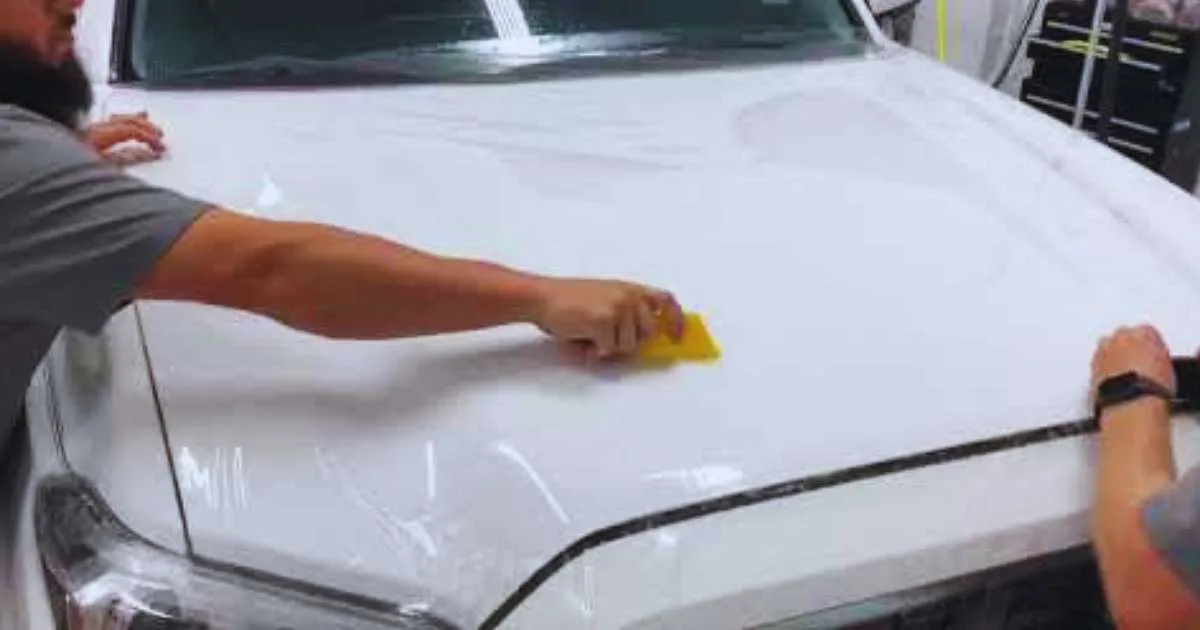
To remove a hood protector on a car, gently loosen and remove the clips or screws holding it in place. Next, carefully lift the protector away from the hood.
Removing a hood protector, also known as a bug shield, can refresh the look of your car or prepare it for a new accessory installation. This simple task, often overlooked, can make a significant difference in maintaining your vehicle's aesthetic appeal.
Whether you're aiming to replace an old, worn-out protector or just giving your car a thorough cleaning, understanding the proper removal technique is crucial. With the right approach, you can ensure the process is smooth, preventing any damage to your car's hood. This guide provides pro tips to help you confidently tackle the job, ensuring a seamless and efficient removal.
Introduction To Hood Protectors
Purpose Of Hood Protectors
Hood protectors serve a dual purpose. They guard your car against scratches and dents. They also reduce the amount of dirt that gets on your windshield. This means you have a clearer view while driving. A clean and undamaged car also has better resale value.Common Types And Materials
- Acrylic: Durable and comes in clear or tinted options.
- Stainless Steel: Strong and rust-resistant but heavier.
- Carbon Fiber: Lightweight and stylish but more expensive.
- ABS Plastic: Versatile and often more affordable.
 Preparation Steps
Preparation Steps
Gathering Necessary Tools
First, collect all tools needed. This avoids any delays.- Screwdriver - For unscrewing the protector.
- Plastic pry tool - To gently remove without scratching.
- Wrench - If nuts and bolts are present.
- Clean cloth - To clean the area afterwards.
- Gloves - To protect your hands.
Safety Precautions Before Starting
Next, ensure safety. This prevents any injuries.- Wear gloves - Protects your hands from sharp edges.
- Work in a well-lit area - Helps you see clearly.
- Keep tools organized - Avoids losing them.
- Read the manual - Understand specific steps for your car.
Initial Cleaning
Washing The Hood Protector
Start with a gentle yet effective wash. Use a bucket of warm soapy water and a soft sponge. Avoid harsh chemicals that can damage the hood protector's surface. Clean in a circular motion to lift grime effectively.- Mix a car-friendly detergent with water.
- Soak a sponge in the solution.
- Gently scrub the hood protector's surface.
- Rinse thoroughly with clean water.
Drying And Inspection
After washing, drying is just as important. Use a microfiber cloth to avoid scratches. A dry, clean surface allows for a close inspection. Check for any cracks or damage before proceeding with removal.- Pat dry with a microfiber towel.
- Avoid abrasive fabrics.
- Inspect for damage or wear.
Loosening The Protector
Identifying Attachment Points
First, spot where the protector attaches to the hood. Look for clips, screws, or adhesive areas. These are the points you will work on. Hood protectors often have multiple attachment methods. Make sure to identify all before proceeding.Techniques To Loosen Fasteners
- For clips, gently pry them off using a flathead screwdriver.
- If screws hold the protector, use the correct screwdriver to turn them counterclockwise.
- For adhesive, apply heat with a hairdryer to soften it. Then, carefully peel the protector away.
 Removing Fasteners
Removing Fasteners
Let's talk about Removing Fasteners from your car's hood protector. This step is key to a smooth removal process. Fasteners can vary, so knowing the right approach is important.
Types Of Fasteners And How To Remove Them
Different cars use different fasteners. Let's look at the common types:
- Screws: Use a screwdriver that fits well.
- Clips: Gently pry them off with a flat tool.
- Bolts: A wrench of the right size will do the job.
Match your tool to the fastener type for an easy removal.
Dealing With Stubborn Or Stripped Screws
Sometimes screws won't budge. Or they may be stripped. Here's what to do:
- Apply Penetrating Oil: Let it soak in to loosen the screw.
- Use Rubber Band: Place it over the screw. Then try turning it.
- Drill It Out: As a last resort, carefully drill the screw out.
Patience is key with stubborn screws. Try these steps one by one.
Detaching The Hood Protector
Careful Removal To Avoid Damage
Removing the hood protector requires patience. Start by lifting the edges gently. Use a plastic tool, not metal. This prevents scratches on the car's surface. Work slowly around the hood protector. Ensure each clip or fastener releases properly. Some protectors have screws or bolts. Use the right screwdriver or wrench. Turn slowly to avoid stripping the heads. Keep all hardware in a safe place.Handling Adhesive-backed Protectors
Adhesive protectors need special care. Use a heat gun or hairdryer. Warm the protector evenly. This loosens the adhesive. Begin at the corners. Pull gently as you apply heat. Move across the protector. Use a plastic card to lift the edges if needed. Clean the hood after removal. Use an adhesive remover. Apply with a soft cloth. Rub gently until the residue is gone. Post-removal Cleanup
Post-removal Cleanup
Cleaning Residue From The Hood
Start the cleanup by assessing the hood for adhesive residue.- Peel off any large adhesive pieces by hand.
- Apply an adhesive remover to lingering sticky spots.
- Wait a few minutes for the product to work.
- Use a microfiber cloth to wipe the hood clean.
Polishing The Surface
After cleaning, it's time to restore the shine.- Choose a quality car polish for the best results.
- Apply the polish in small, circular motions.
- Use a clean microfiber cloth to buff the surface.
- Inspect the hood for an even, glossy finish.
Maintenance Tips
Regular Hood Protector Care
Dirt and debris can damage a hood protector over time. Clean it often to prevent buildup. Use mild soap and a soft cloth for best results. Dry it thoroughly to avoid water spots and potential damage. Check for scratches and nicks regularly. Apply a plastic polish to small scratches. This helps maintain clarity and shine. Inspect attachment points for security. Make sure all fasteners are tight. Loose parts can lead to damage while driving.When To Consider A Replacement
A hood protector's lifespan varies. Look for signs of wear or damage. Cracks or deep scratches mean it's time for a new one. Fading or discoloration can't always be fixed. These are signs to get a replacement. A fresh hood protector keeps your car looking its best. If the protector becomes loose or doesn't fit well, replace it. A secure fit is essential for protection and aesthetics.Frequently Asked Questions
Can Removing A Car Hood Protector Damage The Paint?
Removing a car hood protector should not damage the paint if done carefully. Use a heat gun or hairdryer to warm the protector, loosening the adhesive. Gently lift it, starting from a corner, and peel it off slowly to avoid any paint damage.
What Tools Are Needed To Remove A Hood Protector?
Typically, no specialized tools are required. A heat gun or hairdryer to soften the adhesive and a plastic scraper or credit card to lift the edges are sufficient. Gloves can protect your hands during the process.
How Long Does It Take To Remove A Hood Protector?
The time it takes can vary but generally, expect to spend about 15 to 30 minutes. The duration depends on the size of the protector and the adhesive strength. Warming up the protector properly can speed up the process.
Is It Necessary To Clean The Car Hood After Removal?
Yes, cleaning the car hood after removal is essential. Use a mild automotive cleaner to remove any adhesive residue. This prevents dirt accumulation and ensures that the hood's surface is clean and well-maintained.
Conclusion
Removing a hood protector need not be daunting. By following our pro tips, you can do it effortlessly and safely. Ensure you have the right tools and take your time. A pristine car awaits beneath that shield, reflecting your attention to detail.
Remember, proper care extends your vehicle's life and appeal. Now, go enjoy your ride's refreshed look!
Disclosure
Some links may be affiliate links. That means we may earn a small commission at no extra cost to you.