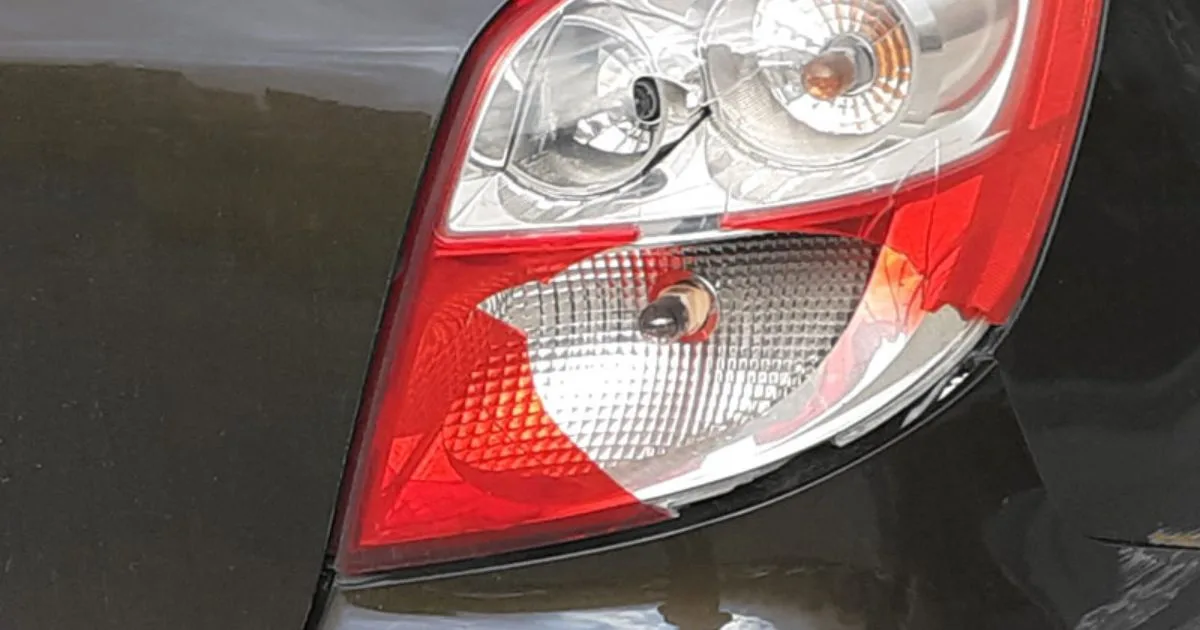
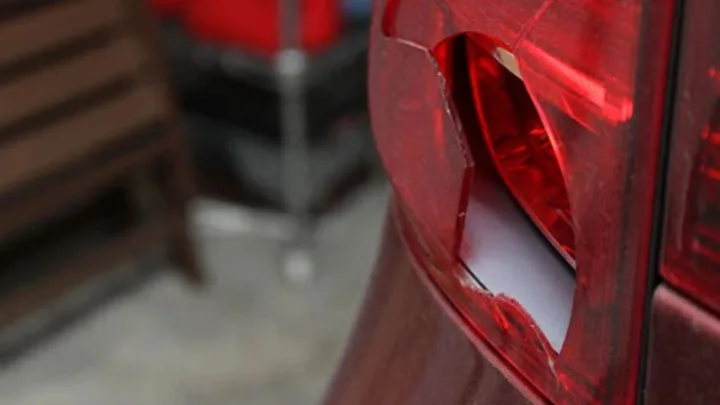
Yes, replacing just the car cover of a tail light is possible. It's a quick fix for a broken or cracked lens.
Picture this: you're backing up your car and hear that heart-sinking crunch. Your tail light cover has met its match with a sneaky pole. Now, your car's sleek look is spoiled by the jagged remains of what was once a pristine tail light.
You might wonder if you need a whole new light setup or if a simple cover swap will do the trick. This is a common issue many drivers face, and the good news is that there's a straightforward solution. Tail lights are essential for safe driving, signaling your vehicle's movements to others on the road. A damaged cover not only looks bad but can also lead to safety issues or even a ticket. We'll explore the steps involved in replacing a tail light cover, what to consider before doing so, and how this quick fix can save you time and money while keeping your car road-ready.
Introduction To Tail Light Maintenance
Tail lights are vital for safe driving. They signal your presence to other drivers, especially at night or during poor visibility conditions. Keeping them in top condition is essential. This guide covers the basics of
tail light maintenance.
Importance Of Functional Tail Lights
Functional tail lights prevent accidents. They ensure others see your car clearly. It's a legal requirement to have them working perfectly.
- Enhance visibility on the road
- Communicate with drivers behind you
- Keep driving safe and legal
Common Issues With Tail Light Covers
Tail light covers protect the bulbs and wiring. They face issues like cracks, fogging, and discoloration.
| Issue |
Cause |
Impact |
| Cracks |
Impact or stress |
Water and dirt entry |
| Fogging |
Seal failure |
Reduced light output |
| Discoloration |
Sun exposure |
Diminished appearance |
Drivers often ask if they can just replace the cover.
Replacement is possible, but the process depends on your car model.

Assessing Tail Light Damage
Assessing Tail Light Damage
Let's talk about
Assessing Tail Light Damage. It's important to know when a tail light needs a new cover. Sometimes, damage is clear. Other times, it's not so easy to tell. Here, we'll show you how to assess and decide if you need a new cover.
When To Consider A Cover Replacement
- Cracks: Small or big, cracks let in moisture. This is bad for the light.
- Fading: Sun can make the cover dull. A bright cover is important for safety.
- Deep Scratches: These can make light less visible. Not good for safety.
Evaluating The Extent Of Damage
Look closely at your tail light. A quick check can tell you a lot. Use these steps:
- Check the cover: Look for cracks, fading, or scratches.
- Test the light: Turn it on. See if the light comes through well.
- Feel the surface: Rough? It might be time for a new cover.
If the damage is small, a simple fix might work. But, if safety is a concern, choose a new cover. Remember, a clear, bright tail light is key for safe driving.
Choosing The Right Tail Light Cover
Tail light covers shield the lights from damage. They also ensure
legal compliance with road safety standards. A damaged cover can lead to
tail light failure and potential fines. Choosing the right replacement is
crucial.
Matching Models And Specifications
Correct fit is essential. Always check your
vehicle's make, model, and year. This ensures the new cover aligns perfectly with your car's design.
- Check the part number against your manual or manufacturer's website.
- Measure your existing cover for size and shape accuracy.
- Ensure the cover's material matches the original specifications.
Aftermarket Vs. Oem Options
Aftermarket and OEM covers differ in
cost and quality.
| Aftermarket |
OEM |
| Often less expensive |
Higher cost but guaranteed fit |
| Variety of designs |
Limited styles, factory design |
| Quality may vary |
Consistent quality, original standard |
Decide based on budget and
preference for
quality or customization.
Tools And Materials Needed
Introduction to Tools and Materials Needed
Replacing a car tail light cover is a task you can do at home.
Right tools and materials are key. This guide lists everything you need. Let's ensure a smooth and safe repair process.
List of Essential Tools
List Of Essential Tools
- Screwdrivers (Phillips and flat-head)
- Socket wrench set
- Plastic pry tool
- Torque wrench
- Work gloves
- Clean cloth
Safety Precautions and Equipment
Safety Precautions And Equipment
Before starting, focus on
safety. Protect yourself and your vehicle. Wear gloves and safety glasses. Ensure the car is off and cool.
| Equipment |
Purpose |
| Safety Glasses |
Protect eyes from debris |
| Work Gloves |
Guard hands against cuts |
| Non-slip Shoes |
Prevent slips and falls |

Removing The Old Tail Light Cover
Removing The Old Tail Light Cover
Removing the old tail light cover is a task you can do yourself. It saves time and money. Before starting, make sure you have the right tools. A screwdriver and gloves are often needed.
Step-by-step Removal Process
First, open your car's trunk to access the tail light area. Find the screws or bolts holding the cover in place. Use a screwdriver to remove them. Some cars have clips instead of screws. For these, gently pry the cover off. Pull the cover away from the car. Be careful not to damage the wires behind it.
Troubleshooting Common Removal Issues
Sometimes, screws may be rusty or stripped. If so, use rust remover or a rubber band for extra grip. Clips can break if forced. Always pry them gently. If wires are tangled, take a photo before disconnecting. This helps when putting everything back together. Remember, patience is key. Rushing can cause more damage.
Installing The New Tail Light Cover
Replacing a car's tail light cover can restore its look and safety features. It's a task many drivers can do. No need for a mechanic if you have the right tools and a new cover. Let's guide you through the steps of installing a new tail light cover.
Alignment And Securing Techniques
First, align the new cover with the tail light housing. Make sure it fits snugly. Check the edges and corners. They should match the car's body perfectly. Once aligned, secure the cover. Use the screws or clips from the old cover. Tighten them by hand first. Then, use a screwdriver. Don't over-tighten. It might crack the cover.
Ensuring A Waterproof Seal
A proper seal keeps water out. It protects the tail light from damage. Start by cleaning the area. Remove old sealant and debris. Use a soft cloth. Apply a thin sealant layer around the edge of the cover. Press the cover into place. The sealant should spread evenly. Check for gaps. Fill them with sealant. Let it dry. Your tail light cover is now waterproof and ready for the road.
Testing The Tail Light Functionality
Let's talk about
Testing the Tail Light Functionality. It's key to ensure safety and compliance. Before hitting the road, a quick check can save you from trouble. Here's how you can do it.
Checking Electrical Connections
First, make sure your car's engine is off. Pop the trunk or access the tail light from the back. Look for the wires leading to the tail light. These wires should be secure and not loose. A loose connection might cause the tail light to flicker or not work at all.
- Turn on the tail lights. Do they light up?
- Press the brake pedal. Does the brightness increase?
- Use the turn signal. Is it blinking correctly?
If you answered "no" to any of these, check the wires again. Tighten any loose connections. If problems persist, professional help might be needed.
Verifying Legal Compliance
Tail lights must meet certain standards. These standards vary by location. It's important to check with local laws. They dictate the required brightness and color.
- Ensure the tail light cover is clear and undamaged.
- Check that the light emitted is red.
- Make sure the light is visible from a distance, typically 500 feet.
Not meeting these standards can lead to fines. Safety is a priority, but so is following the law.
Testing tail light functionality is straightforward. It involves checking connections and legal compliance. A few minutes spent can ensure safety on the road.

Maintenance Tips And Tricks
Maintenance Tips And Tricks
Maintaining a car includes taking care of the tail lights. A cracked cover can lead to bigger issues. Simple steps can keep tail lights in top shape. Let's dive into some maintenance tips and tricks for your vehicle's tail lights.
Regular Cleaning And Care
Keep tail lights clean for safety and longevity. Dirt and grime can cause scratches. Use a soft cloth and soapy water to clean the covers. Dry them gently to prevent water spots. Clean regularly for the best results.
Preventing Future Damage
Protect tail lights to avoid replacement costs. Park in shaded areas to reduce sun exposure. Consider using a car cover when parked for long periods. This shields tail lights from the elements. Small steps can save money and keep your car looking great.
Diy Vs. Professional Help
Deciding between a do-it-yourself approach and professional help for a car tail light cover replacement can be tricky. Tail lights are crucial for safety on the road. A broken cover needs fixing fast. Let's explore the pros and cons of each option.
When To Call A Professional
Some signs signal the need for a pro. Complex assemblies or electrical issues mean a mechanic's touch. Cars with integrated LED systems also need expert care. Safety comes first. A professional ensures the job is done right.
Cost Comparison And Time Considerations
DIY saves money but remember your time's value. Professionals charge more yet offer speed and assurance. Consider your skill level and the complexity of the task. Time and cost often influence the choice between DIY and professional help.
Frequently Asked Questions
Can You Replace Just The Tail Light Cover?
Yes, you can replace just the tail light cover on most vehicles. It's a cost-effective solution if the cover is cracked or damaged while the light assembly is still functional. Always ensure the replacement cover is compatible with your car model.
Is It Easy To Diy A Tail Light Cover Replacement?
Replacing a tail light cover can be a straightforward DIY task. It typically involves removing a few screws or bolts, then replacing the cover. However, consulting your vehicle's manual for specific instructions is advisable to avoid any mistakes.
How Much Does A New Tail Light Cover Cost?
The cost of a new tail light cover varies depending on the make and model of your vehicle and whether you choose an OEM part or an aftermarket option. Prices can range from $50 to over $200. Shopping around for the best deal is recommended.
Will Replacing My Tail Light Cover Affect My Insurance?
Replacing your tail light cover should not affect your car insurance, especially if it's done to maintain the vehicle's safety and integrity. However, it's always a good idea to inform your insurer about significant modifications or repairs.
Conclusion
Replacing just the tail light cover on your car is a straightforward task. It saves money and time. You don't need to be a pro. Simple tools and a new cover do the trick. Safety first, so don't forget to follow each step correctly.
Your tail light will look like new again. And that's great for safety and style on the road. Keep driving safe and your car looking sharp!

 Assessing Tail Light Damage
 Removing The Old Tail Light Cover
 Maintenance Tips And Tricks