To fix your car interior lights, first check the fuse and then inspect the bulbs for damage. If both are fine, examine the light switch for issues.
Car interior lights not working can be a minor inconvenience that turns into a significant annoyance, especially when you need to find something in your car at night. This step-by-step guide aims to simplify the troubleshooting process, making it easier for you to resolve the issue without needing professional help.
Fixing car interior lights often involves checking and replacing simple components like fuses, bulbs, or switches. With a little patience and the right approach, you can illuminate your car's interior once again. This guide is designed to be accessible, ensuring you can follow along and make the necessary repairs with confidence, regardless of your technical expertise.
Introduction To Car Interior Lights
Car interior lights brighten the cabin, enhancing safety and convenience. They illuminate essential areas like the dashboard, center console, and footwells. This guide shows you how to fix them when they fail.
Importance Of Functioning Interior Lights
- Visibility: Lights help you see instruments and controls at night.
- Safety: They prevent fumbling in the dark, reducing distraction.
- Comfort: A well-lit interior creates a pleasant environment.
Common Issues With Interior Lights
Interior lights can fail due to several reasons:
| Issue | Cause |
|---|---|
| Flickering | Loose connection |
| Not Turning On | Burnt bulb or blown fuse |
| Dimming | Weak battery or bad alternator |
 Tools And Materials Needed
Tools And Materials Needed
Before diving into fixing your car interior lights, gather the right tools and materials. A well-prepared toolbox can turn a daunting task into a smooth fix. Let's look at what you'll need.
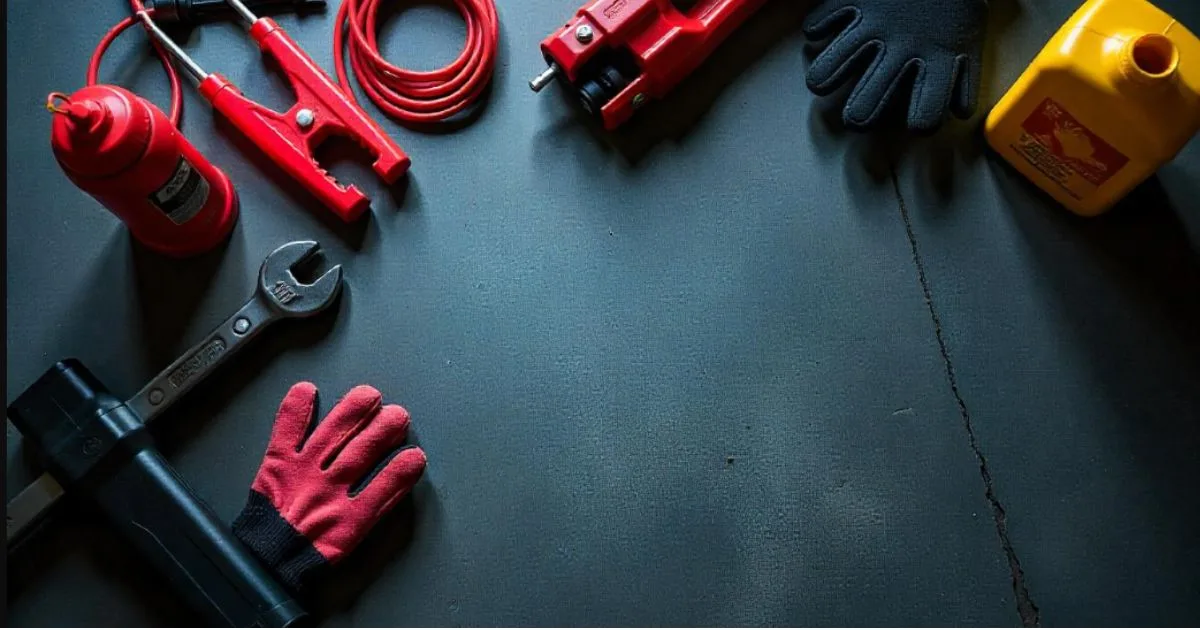
Basic Toolkit For Electrical Repairs
A basic toolkit is vital for electrical repairs. Ensure you have these:
- Screwdrivers: Flathead and Phillips.
- Wire strippers: For cutting and stripping wires.
- Voltage tester: To check for live wires.
- Insulating tape: To secure connections.
- Pliers: Needle-nose pliers work best.
Replacement Bulbs And Fuses
Match bulbs and fuses to your car model. Here's what to get:
- Bulbs: Check your car manual for the size.
- Fuses: Same amperage as the old ones.
With these items ready, you're set to fix the lights.
Safety Precautions
Before diving into fixing car interior lights, safety is key. It's crucial to take the right steps to avoid injury or damage to your vehicle. Follow these guidelines to ensure a safe repair process.
Disconnecting The Battery
Always start by disconnecting the battery. This prevents shocks and protects the car's electrical system. Use the right tools to loosen the negative cable clamp. Once removed, ensure it doesn't touch any metal.
Handling Electrical Components
- Wear gloves to protect your hands.
- Use insulated tools to avoid short circuits.
- Keep components dry and free from oils.
Handle bulbs and fuses with care. They can break easily.
Touching bulbs with bare fingers can also leave oils that reduce their lifespan.
Identifying The Problem
Identifying the problem with your car's interior lights can seem tricky. Yet, it's the first step to fixing them. Let's dive into how you can find and fix the issue.
Fuse Inspection
First, check the fuse. A blown fuse often causes light issues. Here's how:
- Locate the fuse box. It's usually under the dashboard or near the glove box.
- Find the fuse diagram in your car's manual. It shows which fuse controls the interior lights.
- Remove the fuse. Use a fuse puller or tweezers.
- Check the fuse. Look for a broken wire inside. No wire means it's blown.
- Replace if necessary. Use a fuse of the same color and number.
Bulb And Socket Assessment
Next, examine the bulb and socket. Sometimes, they are the culprits.
- Turn off the car and lights. Safety first!
- Remove the light cover. Use a flat tool but be gentle.
- Take out the bulb. Twist or pull, depending on your car.
- Look at the bulb. Dark spots or a broken filament mean it's bad.
- Test the socket. Use a multimeter to check for power.
- Replace the bulb if needed. Make sure it matches the old one.
By following these steps, you can find the problem with your car's interior lights.
Fuse inspection and bulb and socket assessment are great starting points. Remember, always be careful and follow your car's manual.
Replacing The Fuse
Is your car interior light not working? Often, the problem lies in a blown fuse. Replacing the fuse can bring the lights back to life. This guide will show you how to easily replace the fuse step-by-step.
Locating The Fuse Box
First, you need to find the fuse box. Most cars have it under the dashboard, near the driver's side. Some cars might have it in the engine compartment. Look in your car's manual if you're unsure. The manual will have a diagram showing exactly where the fuse box is.
Steps To Change The Fuse
- Turn off your car and take the key out.
- Open the fuse box by pressing the tabs or unscrewing it.
- Find the fuse for the interior lights. The box cover or manual will have a diagram.
- Use a fuse puller or tweezers to remove the old fuse.
- Check the old fuse. A broken wire inside means it's blown.
- Get a new fuse with the same ampere rating as the old one.
- Insert the new fuse into the slot. Push it in firmly.
- Close the fuse box and test the interior lights.
If the lights still don't work, there might be another issue. It could be the bulbs or the wiring. If changing the fuse doesn't fix the problem, it may be time to see a professional.
 Changing The Bulb
Changing The Bulb
Car interior lights brighten your vehicle's cabin. They help you see inside at night. Sometimes they burn out. You can fix them easily. Here's a step-by-step guide to changing the bulb.
Removing The Light Cover
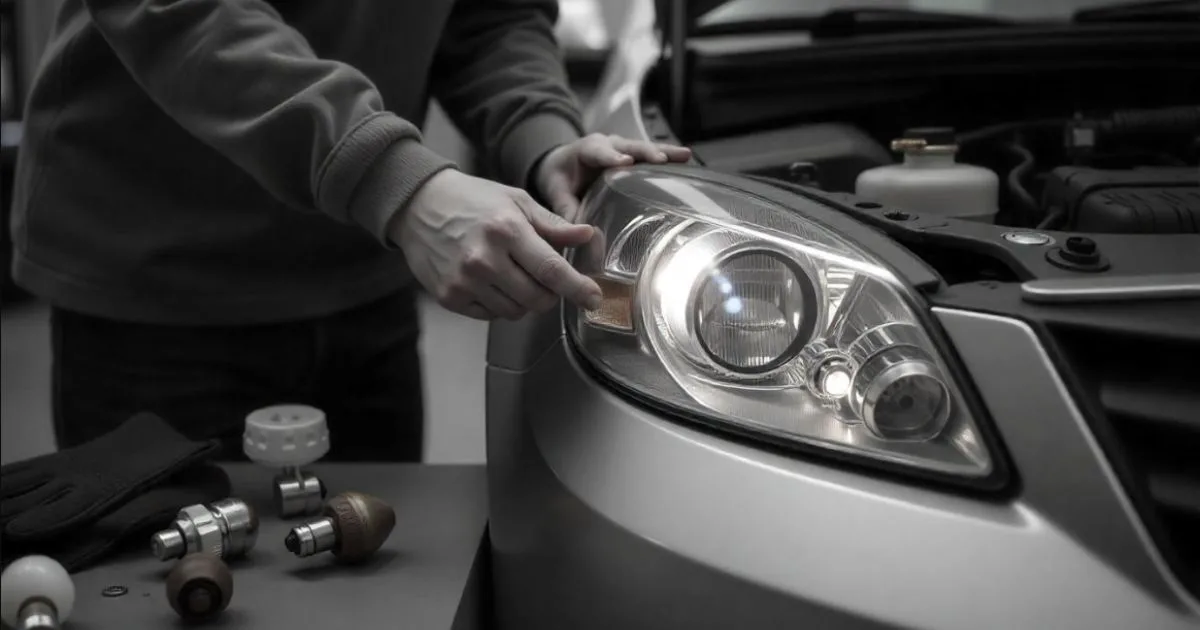
Turn off your car. Make sure the lights are off too. This prevents electrical issues. Use a flat tool, like a screwdriver. Cover it with cloth to avoid scratches. Gently pry off the light cover. Some covers click off without tools. Check your car manual if unsure.
Installing A New Bulb
First, buy the right bulb. Your car manual lists the bulb type. Remove the old bulb. Push in and twist for some models. Others just pop out. Don't touch the new bulb with bare hands. Oils from your skin can shorten bulb life. Use gloves or a tissue.
Insert the new bulb. Twist to secure if needed. Test the light before replacing the cover. With these steps, your car lights should work like new. Follow your car's manual for specific instructions. Safe driving includes proper interior lighting.
Troubleshooting Persistent Issues
Car interior lights not working can be frustrating. You need light to see the dashboard, read maps, or find items at night. Let's fix these stubborn issues.
Checking The Wiring
Loose or damaged wiring often causes light problems. Follow these steps:
- Turn off your car. Safety first!
- Find the light housing. It's usually on the ceiling or doors.
- Open the housing. Use a flat tool for this.
- Inspect the wires. Look for breaks or loose connections.
- Test each wire. Use a multimeter to check for power.
- Secure any loose wires. Twist caps can help.
- Replace damaged wires. You might need a professional for this.
Consulting The Vehicle's Manual
Your car manual is a treasure trove of info. It tells you:
| Section | Details |
|---|---|
| Fuses | Locate and check interior light fuses. |
| Switches | Understand how interior light switches work. |
| Wiring diagrams | See how interior light circuits connect. |
Get your manual and follow these points:
- Find the fuse section. It's in the index or contents.
- Identify which fuse is for interior lights.
- Remove the fuse. Use the fuse puller in your fuse box.
- Check the fuse. A broken wire inside means it's blown.
- Replace if needed. Match the color and number on the fuse.
Final Checks And Testing
Now that you've tackled the repairs, it's crucial to perform final checks. This ensures everything works perfectly. Let's dive into the last steps to get your car interior lights shining bright once again.
Reconnecting The Battery
Firstly, secure the battery's negative cable back in place. Use a wrench to tighten the bolt. Make sure it's snug so the connection is strong.
Verifying Functionality
It's time to test the lights. Start your car and activate the interior lights. Flip the switch for the dome light. Make sure every bulb illuminates.
- Check all switches: Each one should turn the corresponding light on and off.
- Inspect all areas: Look at the dashboard, footwells, and trunk. Lights should be working across all these spots.
- Observe brightness: Lights should be clear, not dim. Brightness indicates a good connection.
If all lights function well, you've successfully fixed them. If not, double-check your work. Ensure all connections are secure and bulbs are the right type.
 Maintenance Tips
Maintenance Tips
Keeping car interior lights working well is key. Good maintenance ensures lights shine bright and last long. Below are tips to keep your lights in top shape.
Regular Cleaning Of Light Covers
Dirty light covers reduce brightness. Clean them often for clear light. Use a soft cloth and mild cleaner. Wipe gently to avoid scratches.
Preventive Measures
Preventing issues saves time and money. Check lights regularly. Replace bulbs before they burn out. Use the right bulb size and type.
- Inspect lights monthly.
- Look for loose connections.
- Fix issues immediately.
Frequently Asked Questions
Why Won't My Car Interior Lights Turn On?
Check the fuse box for a blown fuse. Also, ensure the light switch is set correctly. If both are fine, inspect the bulb for damage.
How Do I Replace A Car Interior Light Bulb?
First, remove the light cover using a flat tool. Then, gently pull the old bulb out. Insert the new bulb and replace the cover securely.
Can A Dead Car Battery Affect Interior Lights?
Yes, a dead battery can prevent the interior lights from functioning. Charge or replace the battery to restore light function.
What Causes Flickering Car Interior Lights?
Flickering lights can be due to a loose connection or a failing alternator. Secure all connections and test the alternator for issues.
Related Post
How to Make Your Car Engine Bay Look Nice
How to Fix Your Car Interior Lights: A Step-By-Step Guide
Car Number Plate Lamps: Enhancing Safety And Style
Top 5 Car Side Lighting Options for Every Vehicle
5 Tips for Keeping Your Car Floors And Door-Fronts Spotless
Conclusion
Wrapping up, tackling car interior light issues can be straightforward with the right approach. By following the steps outlined in this guide, you can illuminate your vehicle's cabin effectively. Remember, regular maintenance keeps those lights shining bright, ensuring a safe and pleasant driving experience. Drive smart, and let your car's interior glow!
Disclosure
Some links may be affiliate links. That means we may earn a small commission at no extra cost to you.