A broken tail light cover can lead to safety risks and traffic fines. Replacing it is crucial for any car owner.
A tail light cover shields the tail light from damage and dust. It's an essential part of your vehicle's safety features, ensuring visibility on the road. Knowing how to replace one is a useful skill that saves time and money. Tail lights are like the eyes of your car at night; they help others see you. But what if one gets damaged? You might think fixing it is a job for professionals, but it's not as tough as it seems. With the right tools and guidance, anyone can do it. This guide will walk you through each step to replace a tail light cover. We'll cover what you need, how to remove the old cover, and how to install a new one. It's a straightforward process once you understand it, and we'll make sure you do. Say goodbye to the hassle of garages and hello to the pride of DIY car maintenance. Let's get started on making your car safe and legal again, with clear, bright tail lights shining the way.Introduction To Tail Light Cover Replacement
Replacing a tail light cover is a vital maintenance task that ensures safety on the road. Tail lights are critical components of a vehicle's lighting system, signaling to other drivers when you're stopping, turning, or on the road in low visibility conditions. A broken cover can lead to a malfunctioning tail light, putting you and others at risk. This guide provides expert tips and tricks for a smooth replacement process.Importance Of Functional Tail Lights
Functional tail lights are essential for safe driving. They alert other drivers about your vehicle's presence and actions. Without them, the risk of rear-end collisions increases. Ensuring your tail lights are in good working condition is not only a safety measure but also a legal requirement in many areas.Common Reasons For Tail Light Cover Damage
- Accidents: Minor collisions can crack or shatter the cover.
- Weather: Extreme temperatures and UV exposure can cause wear.
- Debris: Stones and road debris can chip or break the cover.
- Aging: Over time, covers can become brittle and discolored.
 Tools And Materials Needed
Tools And Materials Needed
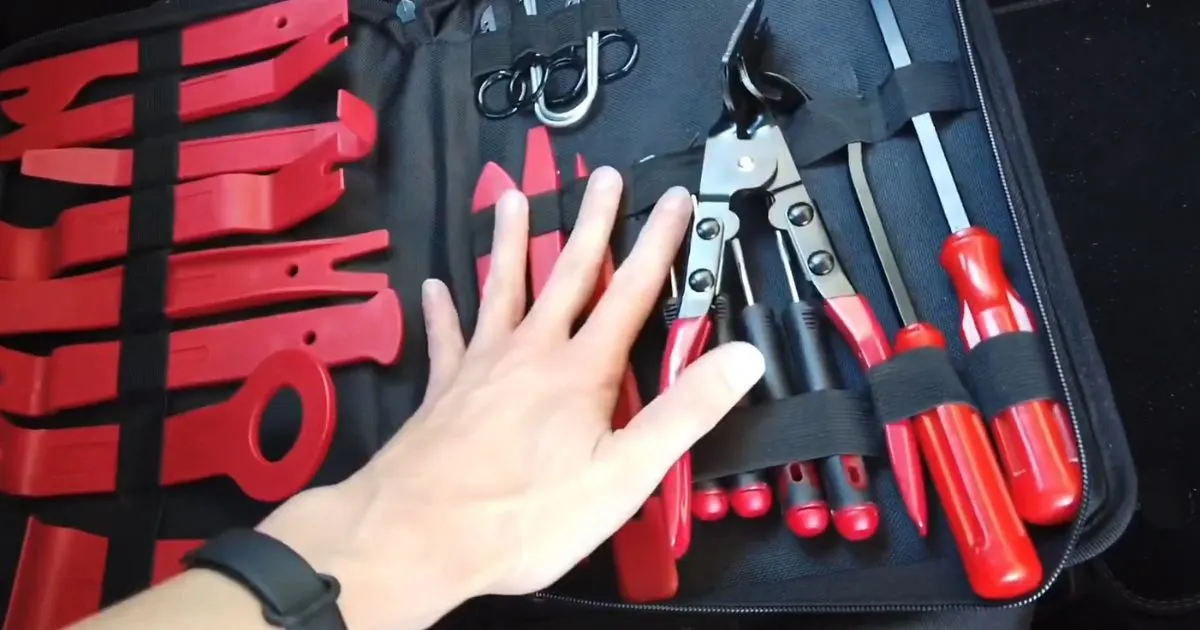
Starting a tail light cover replacement? You need the right tools and materials. This guide covers everything. Simple steps, easy to follow.List Of Essential Tools
Gather these tools first. A screwdriver, usually Phillips-head, is a must. Need pliers? Sometimes. Tape? Yes, for marking areas. New bulbs? Maybe. Check the cover's condition. A cloth helps too. Clean as you go.Choosing The Right Tail Light Cover
Getting the correct cover is key. Match it with your car's make, model, and year. Online stores help. Read descriptions carefully. Check images. Ensure a perfect fit. This avoids future issues. Safety first, always.Preparation Steps
Before diving into the task of replacing a tail light cover, it's crucial to get ready with the right approach. Proper preparation ensures a smooth process and prevents damage or injury. Let's walk through the initial steps for a safe and effective replacement.Safety First: Disconnecting The Battery
Always prioritize safety. Disconnecting the car's battery is the first step. This prevents electrical shocks and protects the vehicle's electrical system. Follow these simple steps:- Turn off the engine.
- Open the hood.
- Locate the battery.
- Use a wrench to loosen the negative terminal.
- Carefully remove the cable.
- Ensure it doesn't touch any metal.
Removing The Trunk's Interior Panel
Next, gain access to the tail light cover from inside the trunk. Here's how:- Empty the trunk for space.
- Find the trunk's interior panel.
- Remove any fasteners or clips.
- Take off the panel gently.
Removing The Old Tail Light Cover
Removing the Old Tail Light Cover can seem daunting. Yet, it's a straightforward task with the right approach. Keep safety in mind. Wear gloves to protect your hands.Unscrewing The Damaged Cover
First, open your vehicle's trunk or hatch. Locate the back of the tail light assembly. You'll often find a set of screws or bolts holding the cover in place. Use the appropriate screwdriver or socket wrench to gently remove these fasteners.- Identify the correct tools for your car model.
- Turn screws counterclockwise to loosen.
- Keep screws in a container to avoid loss.
Handling The Tail Light Bulbs
Handle bulbs with care to prevent damage. Twist the bulb sockets counterclockwise to free them from the housing. Pull the bulbs out gently. Inspect each for signs of wear or damage.| Step | Action |
|---|---|
| 1 | Twist socket |
| 2 | Pull out bulb |
| 3 | Check bulb condition |
Installing The New Cover
Now, let's focus on installing the new cover. This step is key to ensuring your car's tail light works well and looks great. The process involves two main tasks. First, aligning the cover correctly. Second, securing it with screws. Let's dive into each task.Aligning The New Cover
Start by placing the new cover gently onto the tail light area. Make sure it sits perfectly. It should match the shape and size of the space. A good fit means no gaps. Take your time here. Proper alignment ensures a smooth finish.Securing The Cover With Screws
Next, grab your screws and screwdriver. Begin attaching the cover firmly to the car. Tighten each screw, but be careful. Over-tightening can crack the cover. Just make sure each screw is snug. This step keeps the cover in place, safe and sound. And there you have it. The cover is now aligned and secured. Your tail light looks as good as new. Remember, take it slow and follow each step. You'll do great.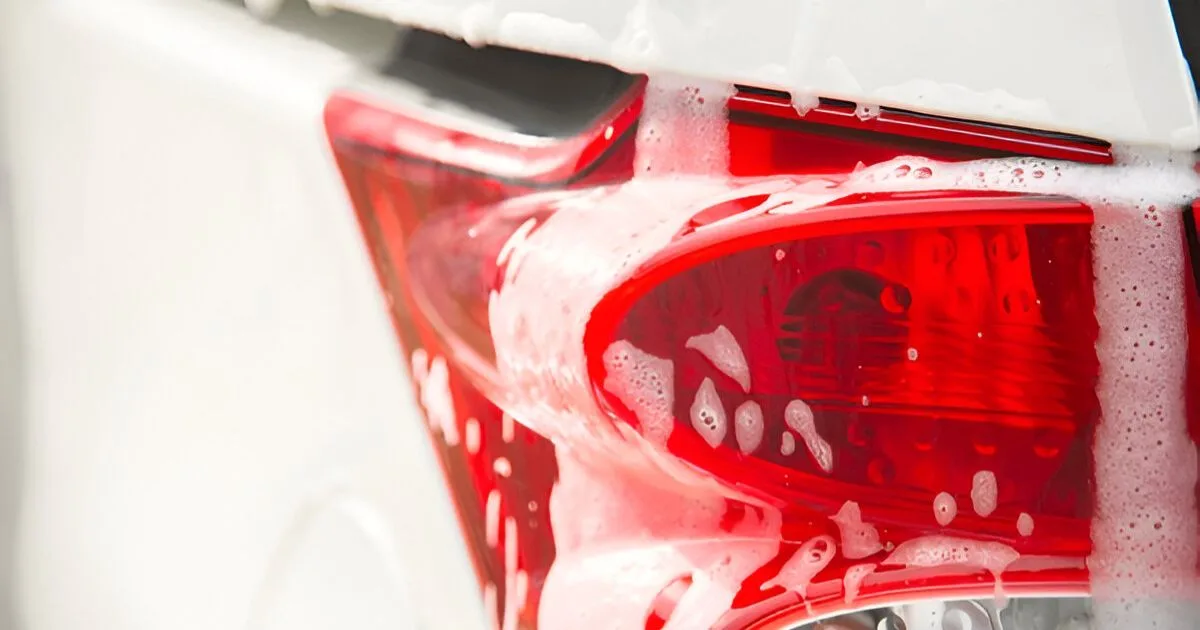 Reconnecting The Electrical Components
Reconnecting The Electrical Components
Reconnecting the electrical components is a vital step in replacing a tail light cover. It ensures that your tail lights work properly. This process involves careful handling and precision. Follow these tips to ensure a successful installation.Attaching The Tail Light Bulbs
First, align the new bulbs with the socket. Gently twist them into place. Make sure they're secure. A loose bulb can cause a bad connection. This may lead to tail light failure. Double-check each bulb before moving on.Testing The Lights
Before reassembling everything, test the lights. Turn on the car's power. Use the brake, turn signals, and reverse lights. Look for proper operation. If a light does not work, check the bulb and connection again. Ensure all lights function before finishing the job.Finishing Touches
Replacing a tail light cover is simple with the right guidance. Discover essential tips to ensure a smooth and successful installation, keeping your vehicle safe and stylish. Sure, let's dive into the final steps of replacing a tail light cover with some expert tips and tricks. The finishing touches are crucial for a professional-looking job. Here's how to wrap up your project smoothly.Reassembling The Trunk Interior Panel
After installing the new tail light cover, it's time to put everything back in place. Start by lining up the interior panel with the trunk's sides. Make sure all clips and screws fit into their respective holes. Use a screwdriver to tighten the screws but do not overdo it. Over-tightening can strip the screws, making future removal difficult.Cleaning Up The Work Area
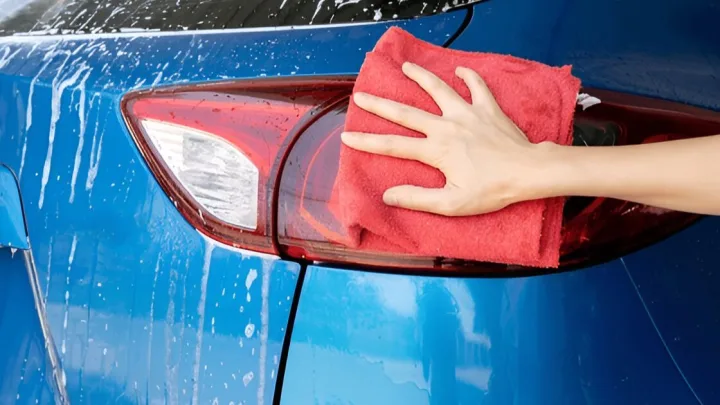
A clean work area is a sign of a good job. Take a moment to gather all tools and leftover parts. Check the ground for any dropped screws or clips. It's easy to lose small parts. Wipe down the new tail light cover with a soft cloth. This removes fingerprints and dust. A clean tail light shines brighter. Remember, taking your time during the finishing touches can make a big difference. Your car looks better, and you feel a sense of accomplishment. Plus, a job well done ensures safety on the road.Maintenance Tips
Maintaining your car's tail light cover is crucial for safety. It also saves money. Let's look at some key practices to keep them in top shape.Regular Inspection Routine
Set a schedule to check your tail lights. Do this monthly. Look for cracks, moisture, and dimming. These signs mean it's time for action. A quick fix prevents bigger issues.Preventive Measures To Avoid Future Damage
Keep tail lights clean. Dirt and grime can cause harm. When cleaning, be gentle. Rough cleaning can scratch the cover. Park safely. This reduces risks of tail light damage. Use quality replacement parts. They last longer and perform better. Drive carefully. Less impact means fewer repairs.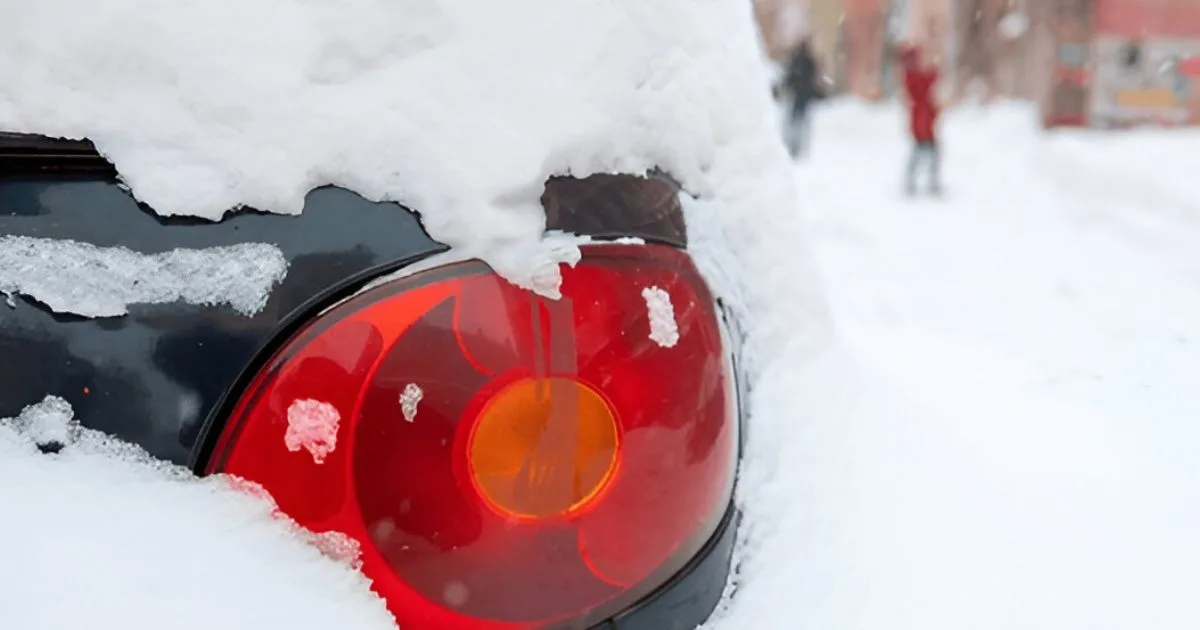 Troubleshooting Common Issues
Troubleshooting Common Issues
Troubleshooting Common Issues with tail light covers can be straightforward. Yet, certain problems may arise. Spot these early to ensure safety on the road.Addressing Malfunctioning Lights
When tail lights fail, start by checking bulbs and fuses. A simple bulb change might fix the issue. Use your vehicle's manual to locate and assess fuses. Clean the light cover for better visibility. Make sure wiring is secure and undamaged. If lights flicker or don't turn on, a bad connection may be at fault.When To Seek Professional Help
Sometimes, DIY fixes won't cut it. If you've tried troubleshooting with no luck, it's time to call a pro. This is crucial when you notice:- Continuous issues after replacing bulbs and fuses.
- Electrical problems beyond simple fixes.
- Cracks or damage that DIY methods can't mend.
Frequently Asked Questions
How Long Does It Take To Replace A Tail Light Cover?
Replacing a tail light cover can usually be done in under an hour. With the right tools and a bit of know-how, most people find it a straightforward task. It's quicker if you've done similar DIY car repairs before.Do I Need Special Tools To Replace A Tail Light Cover?
No special tools are required to replace a tail light cover. Basic hand tools like a screwdriver and a socket wrench are usually enough. Check your vehicle's manual for any specific requirements.Can I Replace A Tail Light Cover By Myself?
Yes, you can replace a tail light cover by yourself. It's a simple process that involves removing the damaged cover, purchasing the right replacement, and installing it. Ensure to follow safety guidelines and your car's manual instructions.How Do I Find The Right Tail Light Cover For My Car?
Finding the right tail light cover involves checking your car's make, model, and year. This information is crucial for purchasing the correct part. Online retailers, auto parts stores, and the dealership are great places to start your search.Conclusion
Replacing your tail light cover doesn't have to be tough. Follow these steps and save time and money. You've got the know-how now. No need for a mechanic. Grab your tools and new cover. Do it yourself with confidence. Keep safety first and double-check your work. Remember, a clear tail light is key for road safety. Your car looks better too! Ready for the road? Shine bright and drive safe!Disclosure
Some links may be affiliate links. That means we may earn a small commission at no extra cost to you.