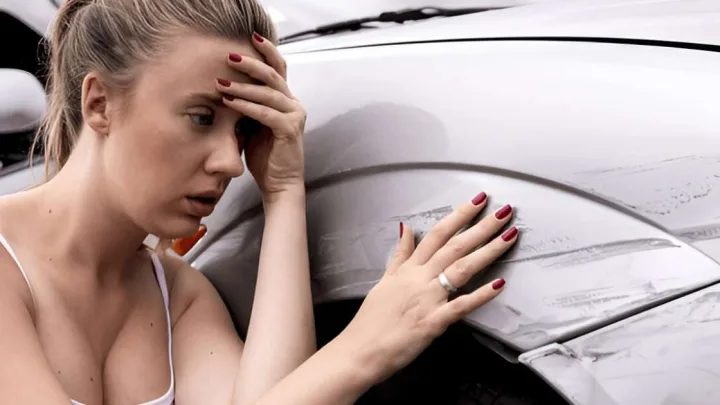
To remove a dent from your car hood, consider using a plunger or a dent puller. These tools can efficiently fix minor dents.
Discovering a dent on your car hood can be frustrating, especially if you pride yourself on maintaining your vehicle's appearance. Many car owners face this issue at some point, whether from a minor collision, hail, or an accidental bump. Fortunately, there are straightforward and effective methods to address this problem without immediately resorting to professional auto repair services.
With the right tools and techniques, you can often remove the dent yourself, saving both time and money. This guide aims to provide you with practical tips on how to restore your car hood to its original condition, emphasizing quick and budget-friendly solutions.
Introduction To Car Hood Dent Repair
Car hoods often take a beating from various impacts. Dents on the hood can be unsightly. They can decrease a vehicle's value. Knowing how to repair these dents is essential for car owners.
Common Causes Of Car Hood Dents
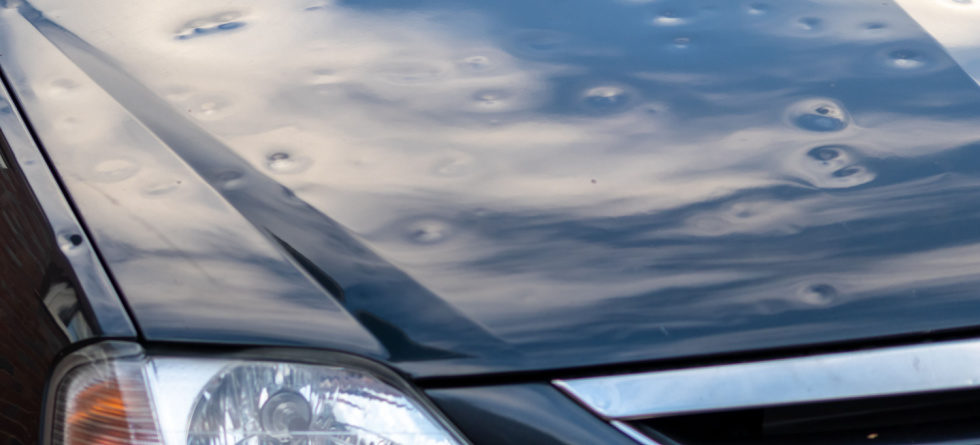
- Hail storms
- Accidents with other vehicles
- Objects falling on the car
- Human error, like sitting on the hood
Assessing The Damage Before Proceeding
Before attempting a repair, assess the dent carefully. Check the size and depth. Look for any cracks in the paint. This will help determine the best repair method.
- Examine the dent's location.
- Measure the size of the dent.
- Check for paint damage.
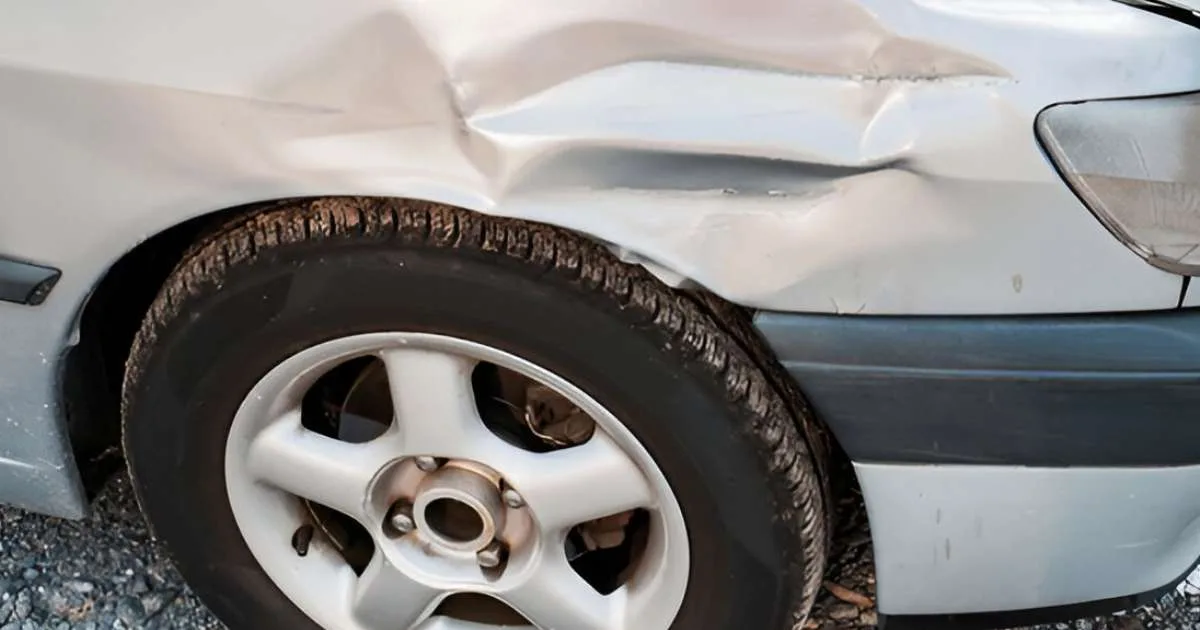 Diy Dent Removal Techniques
Diy Dent Removal Techniques
DIY Dent Removal Techniques offer car owners a cost-effective solution. No need for costly repairs. Simple tools at home can fix minor dents. Let's explore easy methods to get your car hood looking great again.
Using A Plunger For Small Dents
A common household plunger can work wonders. It's not just for sinks. Place the plunger over the dent. Make sure the rubber part is wet. Push and pull until the metal pops back. It's quick and effective.
Applying Hot Water And Reaching Behind The Hood
This method softens the metal. Boil water and pour it over the dented area. Protect your hands with gloves. Reach behind the hood. Push the dent out gently. The heat makes the metal flexible. The dent should ease back into place.
Professional Dent Repair Methods
Car hoods can get dented from hail, accidents, or stray objects. Professional dent repair methods restore hoods to their original state. Let's explore these methods.
Paintless Dent Repair (pdr) Explained
Paintless Dent Repair is an innovative technique. It fixes dents without harming the paint. Technicians use special tools to massage the dent from behind. This method is fast and cost-effective. It's perfect for small to medium-sized dents. PDR maintains your car's original finish. No paint matching is necessary.
When To Choose Traditional Body Shop Repair
Sometimes, PDR is not suitable. This is true for large or complex dents. Traditional body shop repair is then the choice. This method involves sanding, filling, and repainting. It's more time-consuming and expensive. Yet, it is necessary when the metal is stretched or paint is cracked. Body shops ensure a seamless repair.
Tools And Materials Required

Before fixing a dent on your car hood, gathering the right tools and materials is key. This ensures a smooth and efficient repair process. Let's explore the essentials for a DIY dent repair project.
Gathering Your Diy Toolkit
For a successful dent repair, you need specific tools. Here's a list:
- Plunger - A common household plunger can work wonders.
- Dent puller - Essential for pulling out the dent.
- Rubber hammer - Helps gently tap out the dent from behind.
- Microfiber cloth - For cleaning the surface before and after.
These tools are crucial for a DIY dent repair on your car hood.
Safety Precautions And Protective Gear
Safety first! Always protect yourself before starting.
- Gloves - Protect your hands from sharp edges.
- Safety glasses - Keep your eyes safe from debris.
Wearing the right gear keeps you safe during the repair.
 Step-by-step Guide To Diy Dent Removal
Step-by-step Guide To Diy Dent Removal
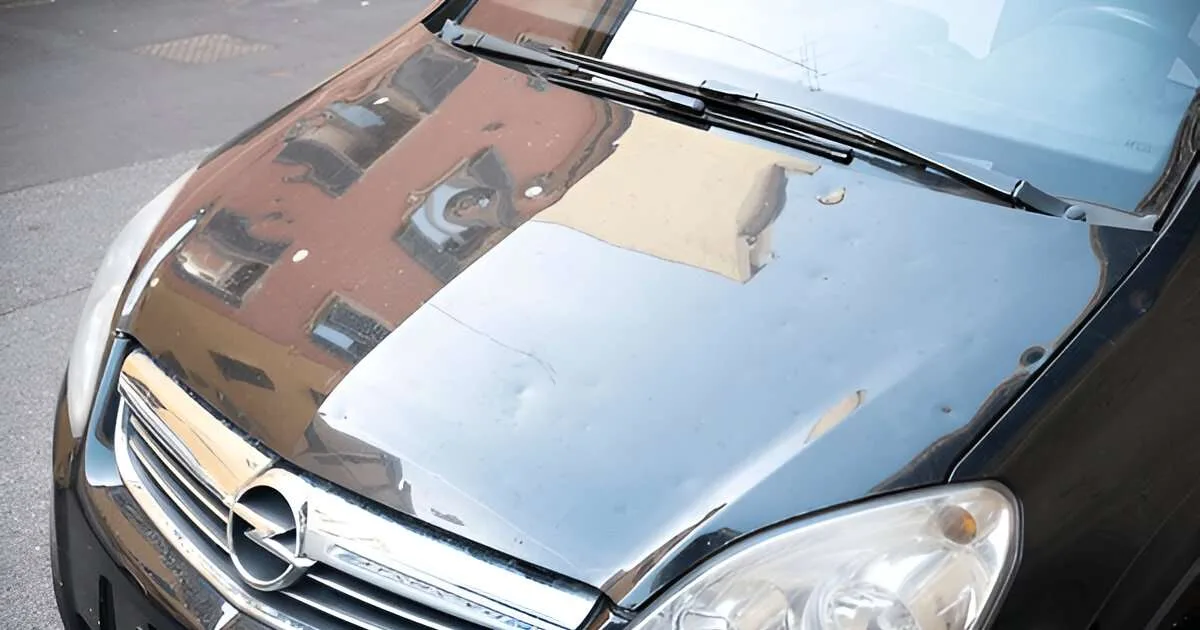
Discover our Step-by-Step Guide to DIY Dent Removal. A dent on your car hood can be a bummer. But, you don't always need a pro to fix it. With the right tools and techniques, you can remove that dent yourself. Let's dive into how you can make your car hood look as good as new.
Preparing The Vehicle And Work Area
Before you start, make sure your car and work area are ready. Here's how:
- Clean the dented area. Use soapy water.
- Dry the area with a soft cloth.
- Ensure the work area is well-lit. You need to see clearly.
- Keep all tools close by.
Executing The Chosen Dent Removal Method
There are a few ways to remove a dent. Choose one that works best for your situation. Here are the most common methods:
- Plunger Method (works best for medium-sized dents):
- Wet both the plunger and the dent.
- Place the plunger over the dent.
- Pull until the dent pops out.
- Boiling Water Method (great for plastic bumpers):
- Boil water and pour it over the dented area.
- Quickly reach behind the dent and push it out.
- Pour cold water to cool and fix the plastic.
- DIY Dent Removal Kit (for precise dent removal):
- Attach the tool to the dent.
- Twist or pull the tool to pop the dent out.
- Follow the kit's instructions for best results.
Remember, patience is key. Take your time for the best outcome. With these steps, your car hood can look great again!
Credit: globalcollisioncenters.com
Tips For A Smooth Diy Process
When a car hood gets dented, it can be an eyesore. DIY dent removal can be a cost-effective solution. Follow these tips for a smooth process.
Temperature Considerations For Dent Removal
Temperature plays a crucial role in dent removal. Extreme temperatures can affect the metal's flexibility. Here are some key points:
- Work in mild temperatures for the best results.
- Avoid direct sunlight which can make the metal expand.
- Use a hairdryer to gently warm the area if it's too cold.
- Remember, gradual temperature changes are safest.
Finishing Touches After Dent Has Been Removed
Once the dent is out, the job isn't quite finished. The following steps will restore your car hood's look:
- Clean the area with a soft cloth and rubbing alcohol.
- Apply a wax or polish to protect the paint.
- Inspect the hood from multiple angles to ensure evenness.
These final touches will help maintain your car's value and appearance.
Common Mistakes To Avoid
When it comes to car maintenance, fixing a dented hood can seem straightforward. Yet, certain common mistakes can turn a simple fix into a costly one. Knowing what to avoid is as crucial as the repair itself. Let's dive into the key errors to steer clear of during this delicate process.
Avoiding Further Damage To The Car Hood
Before attempting any repair, it's essential to avoid causing more harm. Here are some pitfalls to dodge:
- Using the wrong tools: Stick to professional dent removal tools. Improvised tools can scratch or worsen the dent.
- Applying too much force: Gentle pressure is key. Excessive force can stretch the metal beyond repair.
- Ignoring the paint: Protect the paint with proper techniques. Neglect can lead to chipping or cracking.
When Not To Attempt Diy Dent Removal
Sometimes, DIY is not the answer. Recognize these situations:
- Deep dents: Deep dents require professional tools and skills. DIY may cause more damage.
- Close to the edge: Dents near edges are tricky. They often need a professional's touch.
- Creased metal: If the metal is creased, DIY methods likely won't work. A pro is needed here.
 Maintaining Your Car Hood Post-repair
Maintaining Your Car Hood Post-repair
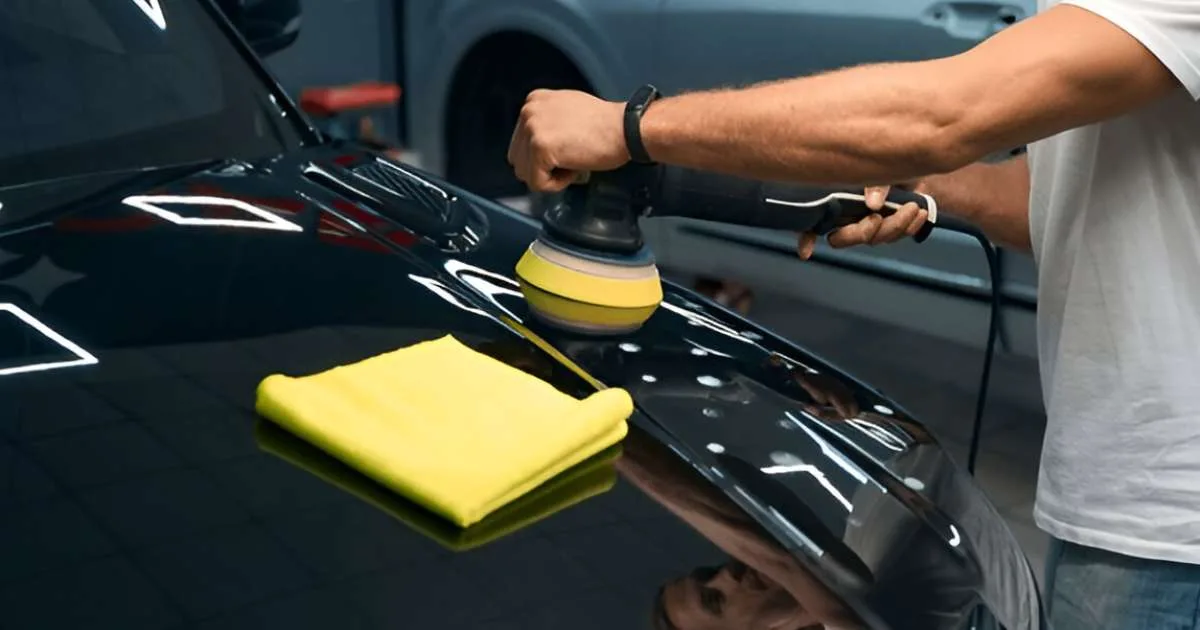
Once you've managed to get that unsightly dent out of your car hood, it's crucial to keep it in top condition. Proper maintenance ensures your car hood stays looking as good as new. Follow these steps to protect your car's hood from future damage.
Regular Maintenance To Prevent Future Dents
Regular checks are key to dent prevention. Inspect your car hood often. Look for any signs of wear or damage.
- Wash your car hood regularly.
- Use gentle cleaning tools.
- Dry the hood thoroughly to prevent rust.
Apply a wax coating every few months. This adds a protective layer to the car hood.
Protective Measures And Products
Invest in protective gear for your car hood. It helps shield against potential impacts.
- Consider a car hood protector or bra.
- Use paint protection films.
- Install a bug deflector to reduce debris impact.
Choose high-quality products for the best defense. They preserve the car hood's appearance and value.
Frequently Asked Questions
Can A Plunger Remove A Car Hood Dent?
Yes, a plunger can often be used to remove small to medium-sized dents from a car hood. Simply wet the plunger and the dent, press the plunger over the area, and pull back to create suction. This can pop the dent out.
What Is The Cost To Fix A Dented Car Hood?
The cost to fix a dented car hood varies. Minor dents may cost between $50 to $100 to repair, while larger or more complex damage can cost several hundred dollars. Factors include the dent's size, depth, and location, as well as labor rates.
Are Diy Methods Safe For Car Dent Removal?
DIY methods can be safe for car dent removal if done carefully. Popular methods include using a plunger, boiling water, or a dent puller kit. However, there's a risk of further damage if not done correctly, so professional help is sometimes advisable.
How Long Does It Take To Remove A Dent From A Car Hood?
Removing a dent from a car hood can take from a few minutes to a couple of hours. Simple methods like using a plunger might take minutes, while professional repair, especially if it involves repainting, might take a few hours or more.
Conclusion
Removing a dent from your car hood doesn't have to be daunting. With the right tools and techniques, you can restore your vehicle's appearance affordably and efficiently. Remember, patience and precision are your best allies in tackling car dents. So, roll up your sleeves and give your car hood the attention it deserves—your ride will thank you with every sleek, smooth mile ahead.
Disclosure
Some links may be affiliate links. That means we may earn a small commission at no extra cost to you.