License plate light troubles can often be resolved by replacing the bulb or checking the fuse. A simple DIY approach can save time and money.
Dealing with a malfunctioning license plate light might seem daunting at first, but it's a problem that many car owners can fix on their own. This common issue can usually be traced back to a few culprits, such as a burnt-out bulb, a blown fuse, or a loose connection. Understanding the root cause is the first step towards a solution. Armed with a screwdriver and a bit of patience, you can tackle this task in your driveway or garage.
This guide aims to demystify the process, offering clear, straightforward instructions that even beginners can follow. By addressing license plate light issues promptly, you not only ensure compliance with traffic laws but also enhance the safety and appearance of your vehicle.
Identifying License Plate Light Issues
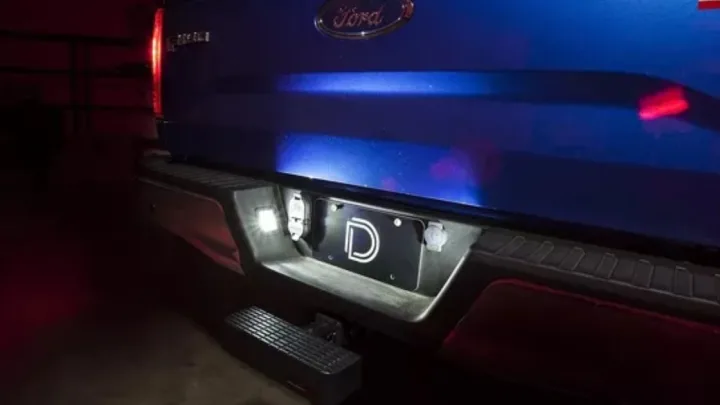
License plate lights are vital for road safety. They light up your plate number at night. This helps others identify your vehicle. When they don't work, you could face fines. Let's diagnose the Lighting problem.
Symptoms Of Malfunction
- Dim lights: The light is faint or flickering.
- No light: Your license plate is dark.
- Intermittent light: The light comes and goes.
Common Causes For Failure
Faulty bulbs often cause issues. Damaged wires can too. Check for dirty sockets. They prevent good contact. A blown fuse is another culprit. Corrosion can be a problem as well.
| Issue | Possible Cause | Quick Fix |
|---|---|---|
| Dim Light | Old Bulb | Replace Bulb |
| No Light | Blown Fuse | Change Fuse |
| Intermittent Light | Loose Wiring | Secure Connections |
Safety First: Preparing To Work
License plate light issues can seem minor. Yet, they are crucial for safety and legality. A non-functional license plate light might lead to a traffic stop. Fixing it yourself saves time and money. Before starting, focus on safety. This guide ensures a safe repair process.
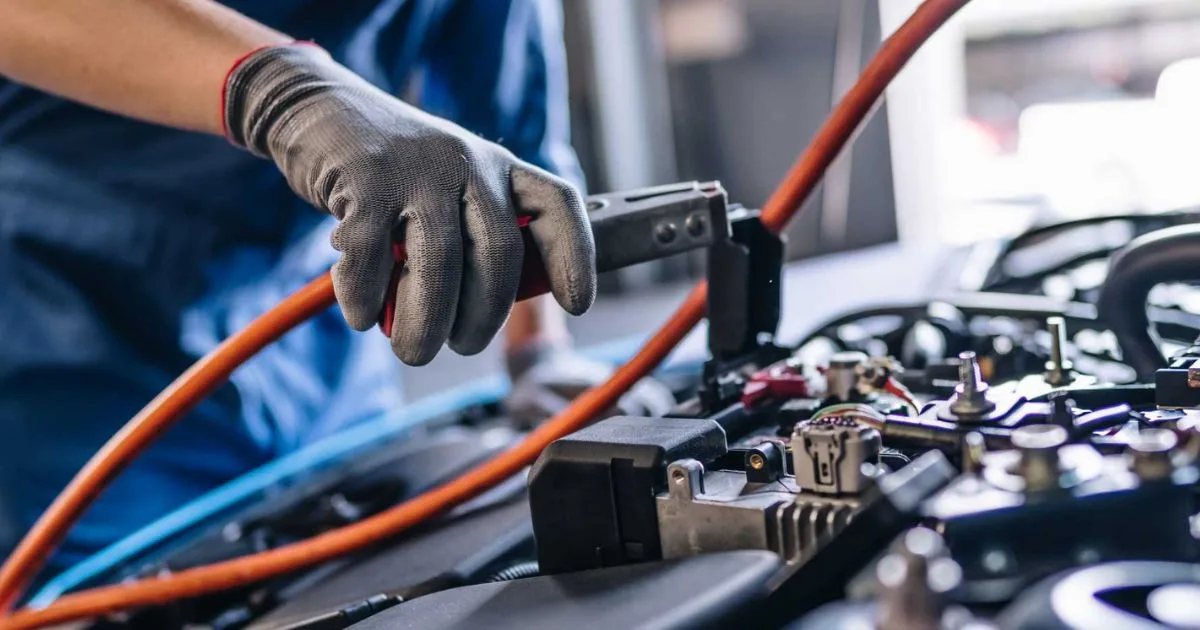
Disconnecting The Battery
Start by disconnecting the car battery. This prevents electric shock. It also avoids short circuits while working. Always remove the negative cable first. Then proceed to the positive one. Make sure the ignition is off.
Gathering Necessary Tools
Gather all tools before starting. You'll need:
- Screwdrivers (flathead and Phillips)
- Replacement bulbs or LED units
- Wire cutters/strippers (if wiring is involved)
- Voltage tester (to check connections)
- Gloves (for protection)
Ensure the correct bulb type is on hand. Check the vehicle manual for specifications. A well-prepared workspace makes the job easier and safer.
 Accessing The License Plate Light
Accessing The License Plate Light
Having trouble with your license plate light? You're not alone. Many car owners face this issue. But, don't worry! You can fix it yourself. First, let's talk about how to access the license plate light.
Removing The Light Cover
Getting to the license plate light starts with removing the cover. Here's a simple step-by-step guide:
- Turn off your car. Make sure it's safe.
- Find the light cover. It's near your license plate.
- Use a screwdriver. Some covers need a flathead; others need a Phillips.
- Gently remove the screws. Keep them safe. You will need them later.
- Take off the cover. Now, you see the light.
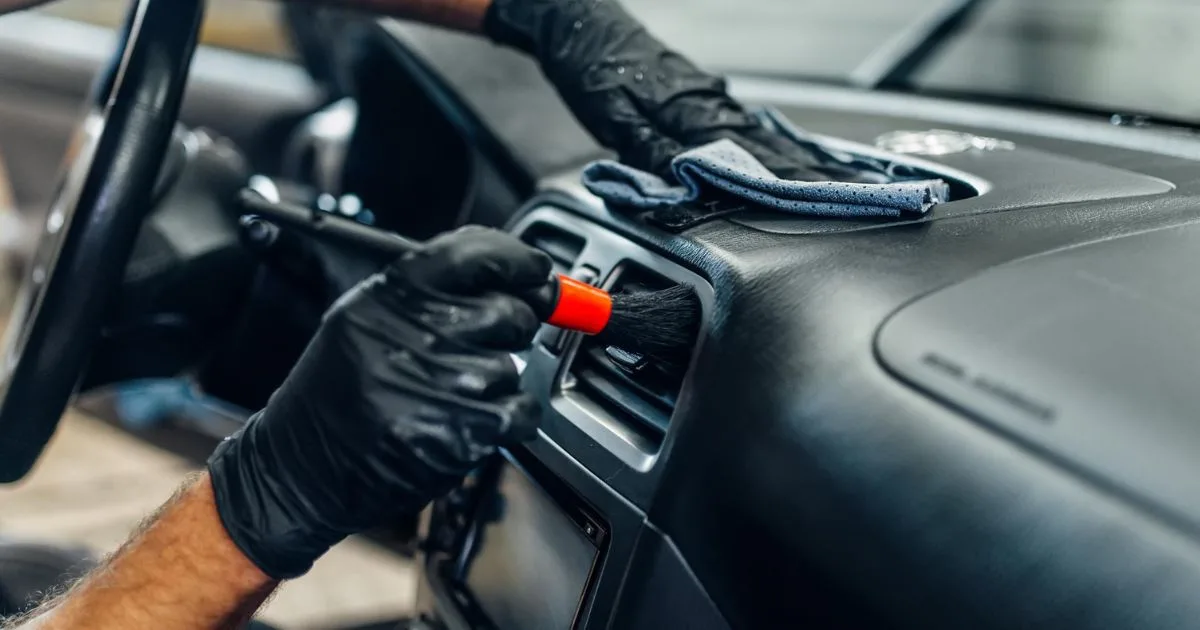
Careful Handling Of Components
With the cover off, handle everything carefully. Here's what to do next:
- Look at the bulb. Is it burnt or broken?
- If yes, gently remove it. Turn it counterclockwise.
- Get a new bulb. Make sure it's the right type.
- Put in the new bulb. Turn it clockwise until it's snug.
- Replace the cover. Screw it back in carefully.
And that's it! You've fixed your license plate light. Remember, be gentle with all parts. This ensures everything works well and lasts long.
Credit: www.truecable.com
Inspecting The Light Bulb
When a license plate light fails, it's often the bulb. This guide shows how to check and fix the bulb yourself. Follow these steps to ensure your vehicle stays compliant with the law and safe on the road.
Checking For Burnout
First, open the light's cover. Most cars have a simple clip or screw system. Once open, remove the bulb. Look at it closely. A dark or broken filament means burnout. Replace it if necessary.
Testing With A Multimeter
If the bulb looks good, test it. Set a multimeter to the ohms symbol. Touch one probe to the bulb's bottom, and the other to the side. A working bulb will show resistance. No resistance means it's time for a new bulb. Remember, handle bulbs with care. Use gloves to avoid oil transfer from hands, which can damage the new bulb. Now, your plate light should shine bright again!
Replacing The Light Bulb
Over time, license plate lights can burn out. It's a minor issue with a quick fix. This section guides you through choosing the correct bulb and the replacement process. Simple steps ensure your vehicle remains law-compliant and safe on the road. Let's dive into replacing that tiny yet crucial light.
Selecting The Right Bulb
First, identify the correct bulb for your vehicle. Check your owner's manual or the existing bulb's base for the model number. Ensure the new bulb matches the vehicle's voltage specifications. Opt for long-lasting LED bulbs for a brighter, more durable choice.
Step-by-step Replacement Process
Follow these steps to replace your license plate light bulb:
- Turn off the vehicle and remove the keys.
- Open the trunk or rear door to access the light.
- Locate the light cover and unscrew or unclip it.
- Remove the old bulb by gently twisting it.
- Insert the new bulb with a similar twist motion.
- Test the light to ensure it's working properly.
- Replace the cover and secure it back in place.
With these steps, you'll restore full functionality to your license plate light. Stay safe and compliant with a fully illuminated license plate.
 Addressing Electrical Issues
Addressing Electrical Issues
Addressing Electrical Issues can seem daunting at first. Yet, with some basic knowledge and the right tools, you can solve common license plate light problems.
This section dives into the electrical aspects. We will inspect wiring and troubleshoot the light socket.
Inspecting Wiring For Damage
Start by examining the wiring connected to your license plate light.
Look for any signs of wear or damage. This might include frayed wires, corrosion, or loose connections.
- Turn off your car's power to avoid shocks.
- Locate the wiring harness near the license plate light.
- Check for visible damage. This includes cuts or tears.
- If you find damage, consider replacing the damaged section.
Troubleshooting The Light Socket
A faulty light socket can also cause problems. Here's how to check it:
- Remove the light bulb from the socket.
- Use a voltmeter to test for power in the socket.
- If there’s no power, the socket might be the issue.
- Inspect the socket for corrosion or damage.
- Clean the socket with a small wire brush or replace it if necessary.
Remember, safety first. Always disconnect your car's battery before starting any electrical work. This prevents shocks and protects your vehicle's electrical system.
Reassembling And Testing
Reassembling and Testing the license plate light is crucial after fixing it. It ensures everything works well before hitting the road again. Follow these steps to secure the light cover and test functionality.
Securing The Light Cover
- Align the light cover with the housing.
- Use the appropriate screws or clips to attach the cover.
- Do not overtighten screws to avoid cracking the cover.
- Make sure the cover is flush with the vehicle body for a clean look.
Ensuring Proper Functionality
After reassembly, it's important to test the light.
- Turn on the vehicle's lights.
- Walk around to the rear and check the license plate light.
- The light should be bright and evenly lit.
- If the light flickers or doesn't turn on, check the connections.
- Confirm the bulb is the correct type and wattage.
Successful testing means a job well done. Your license plate light is now ready.
 When To Seek Professional Help
When To Seek Professional Help
Fixing a license plate light can be simple. Sometimes, you need a pro. Know when to call one.
Complex Electrical Problems
Car wiring is tricky. Complex issues need expert hands. Signs include:
- Fuses blow often.
- Lights flicker or dim.
- Other electrical faults appear.
Don't risk safety. Get a certified mechanic.
Legal Considerations For Modifications
License plate lights must meet legal standards. Modifications can be illegal. Rules vary by location. Check local laws first. Wrong changes lead to fines. A professional ensures compliance.
Frequently Asked Questions
Why Is My License Plate Light Important?
The license plate light illuminates your plate for visibility and legal compliance at night. It ensures that law enforcement and cameras can read your plate in darkness, enhancing road safety and adherence to traffic laws.
What Causes License Plate Light Failure?
Common causes include burnt-out bulbs, faulty wiring, a bad fuse, or a malfunctioning light assembly. Regular wear and tear or exposure to the elements can also lead to failure, making periodic checks important for maintenance.
How Do I Change My License Plate Bulb?
Changing your license plate bulb involves removing the light cover, usually by unscrewing or prying it off, then replacing the old bulb with a new one that matches the voltage and size specifications of your vehicle.
Can I Fix The Wiring Of The Light Myself?
Yes, with basic tools and electrical knowledge, you can fix the wiring. Ensure the car is off, locate the wiring harness, check for damage or loose connections, and repair or replace as necessary, always following your vehicle's manual.
Related Post
How to Make Your Car Engine Bay Look Nice
How to Fix Your Car Interior Lights: A Step-By-Step Guide
Car Number Plate Lamps: Enhancing Safety And Style
Top 5 Car Side Lighting Options for Every Vehicle
5 Tips for Keeping Your Car Floors And Door-Fronts Spotless
Conclusion
Tackling license plate light issues can be simple with the right approach. This guide empowers you to handle common problems swiftly and safely. Remember, regular maintenance keeps your car legal and visible on the road. Embrace the DIY spirit, follow these steps, and drive with confidence, day or night.
Disclosure
Some links may be affiliate links. That means we may earn a small commission at no extra cost to you.